User Guide
-
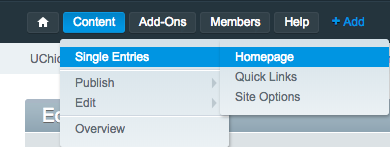
To edit the Homepage, either select it from the main content tree, or select Content > Single Entries > Homepage from the top bar.
-
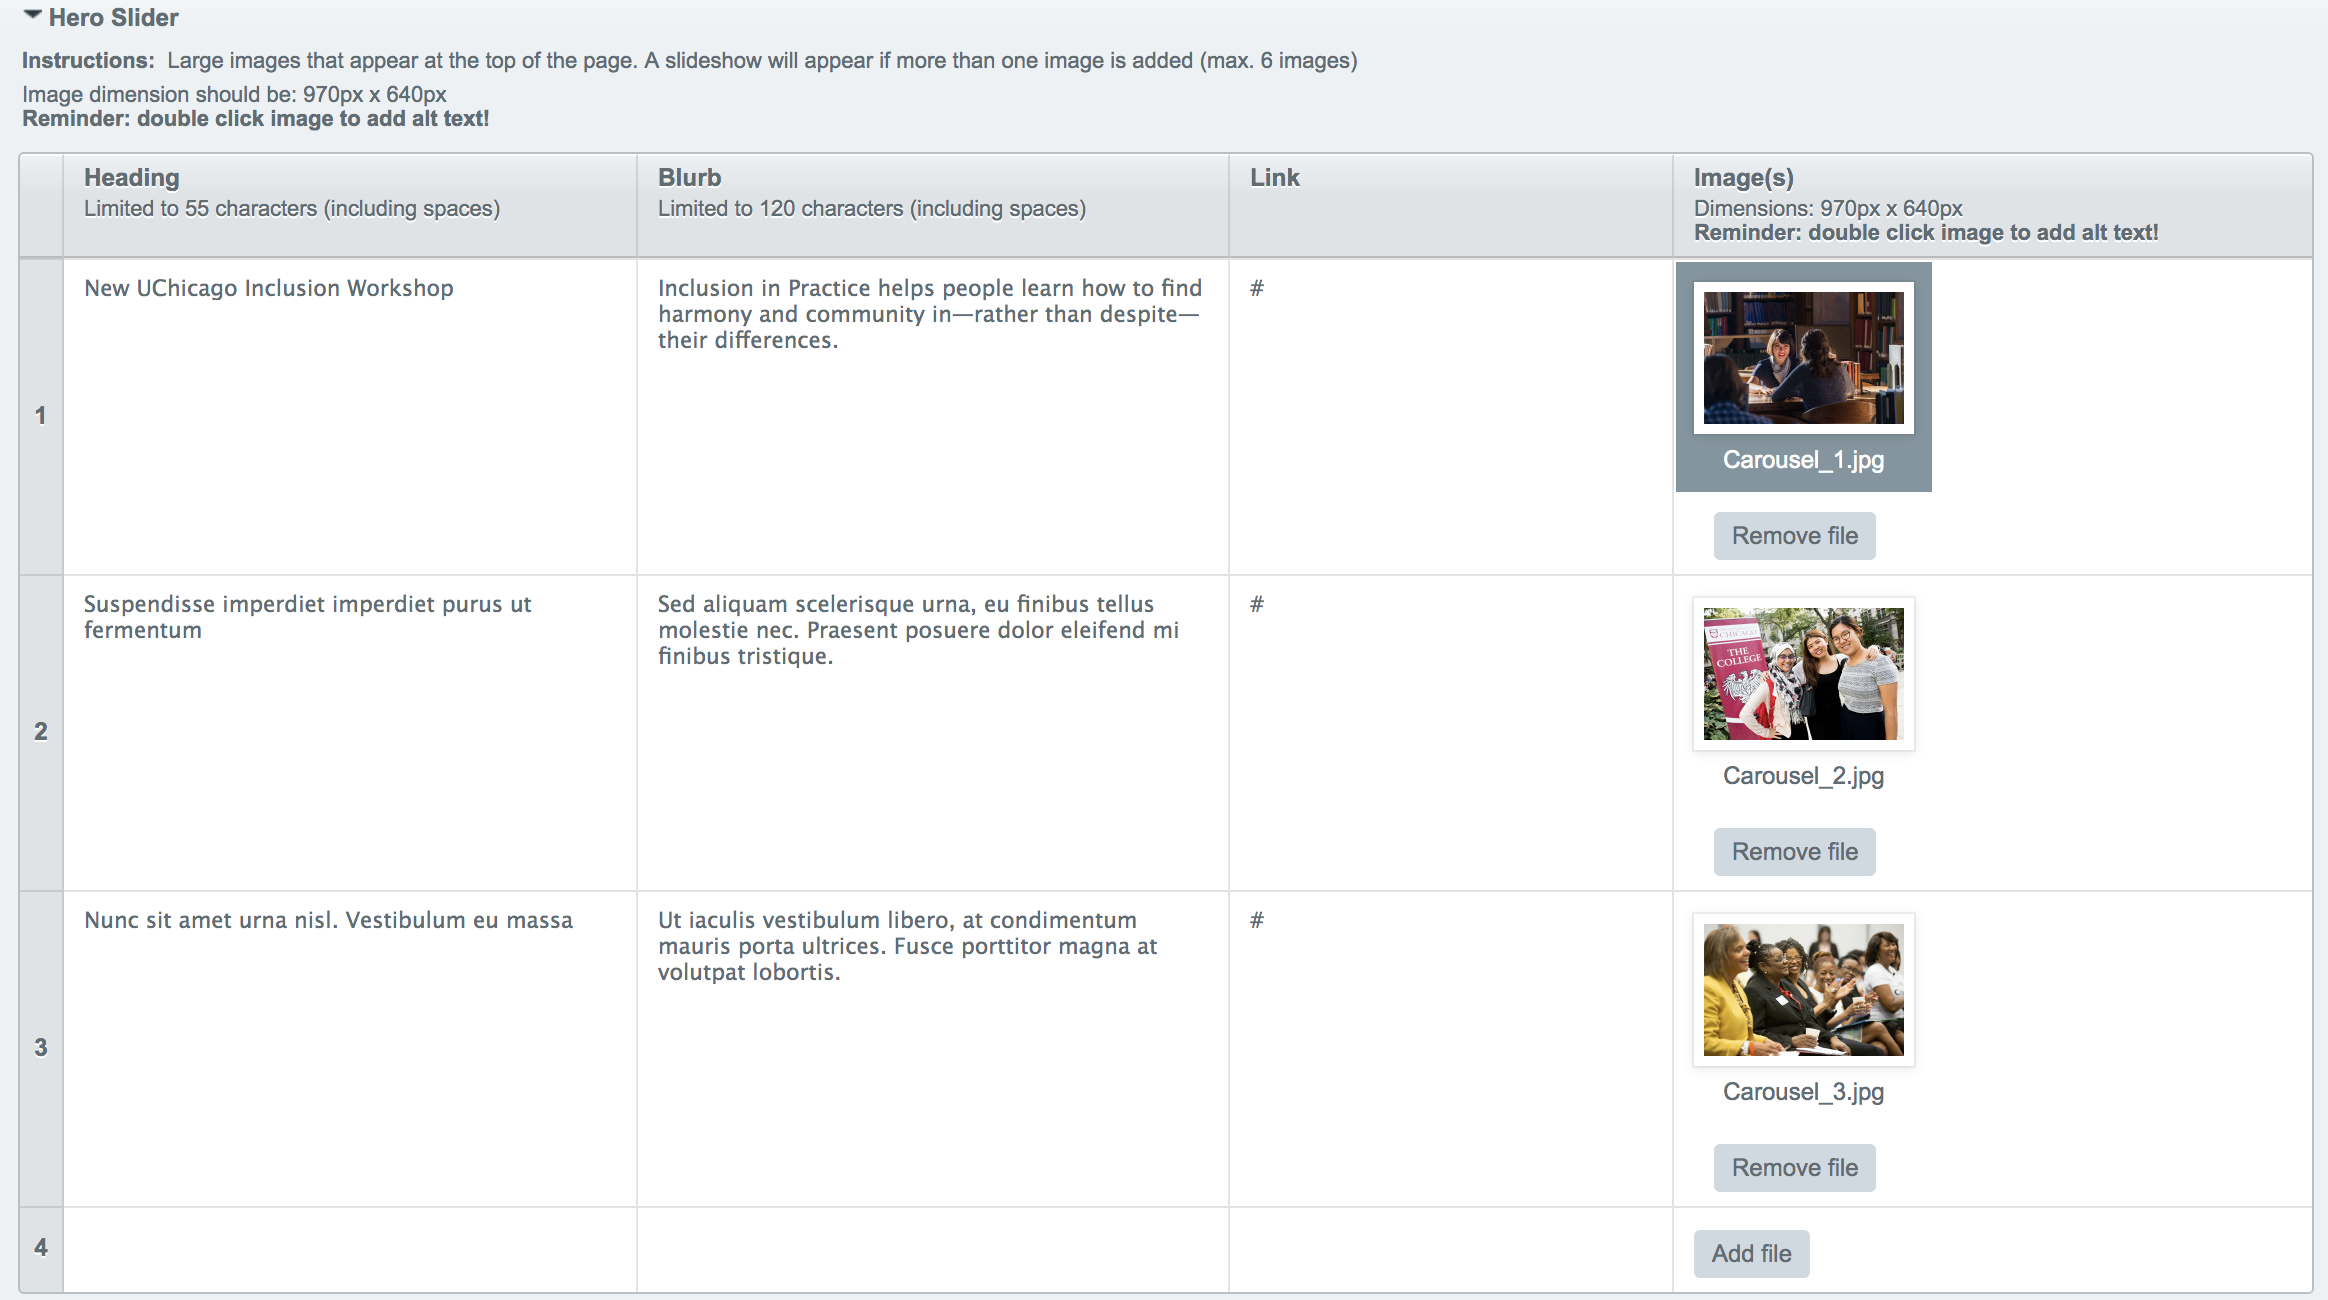
The slideshow of images that appears at the top of the Homepage is edited in the "Hero Slider" field.
The Heading is the large text that will appear beside the image. The blurb is smaller text that appears below the Heading. You can insert a link to either a page on the site or an external page. Images can be uploaded by clicking add file. The dimensions for the Hero Slider images are 970px x 640px.
You can insert up to six slider entries.
-
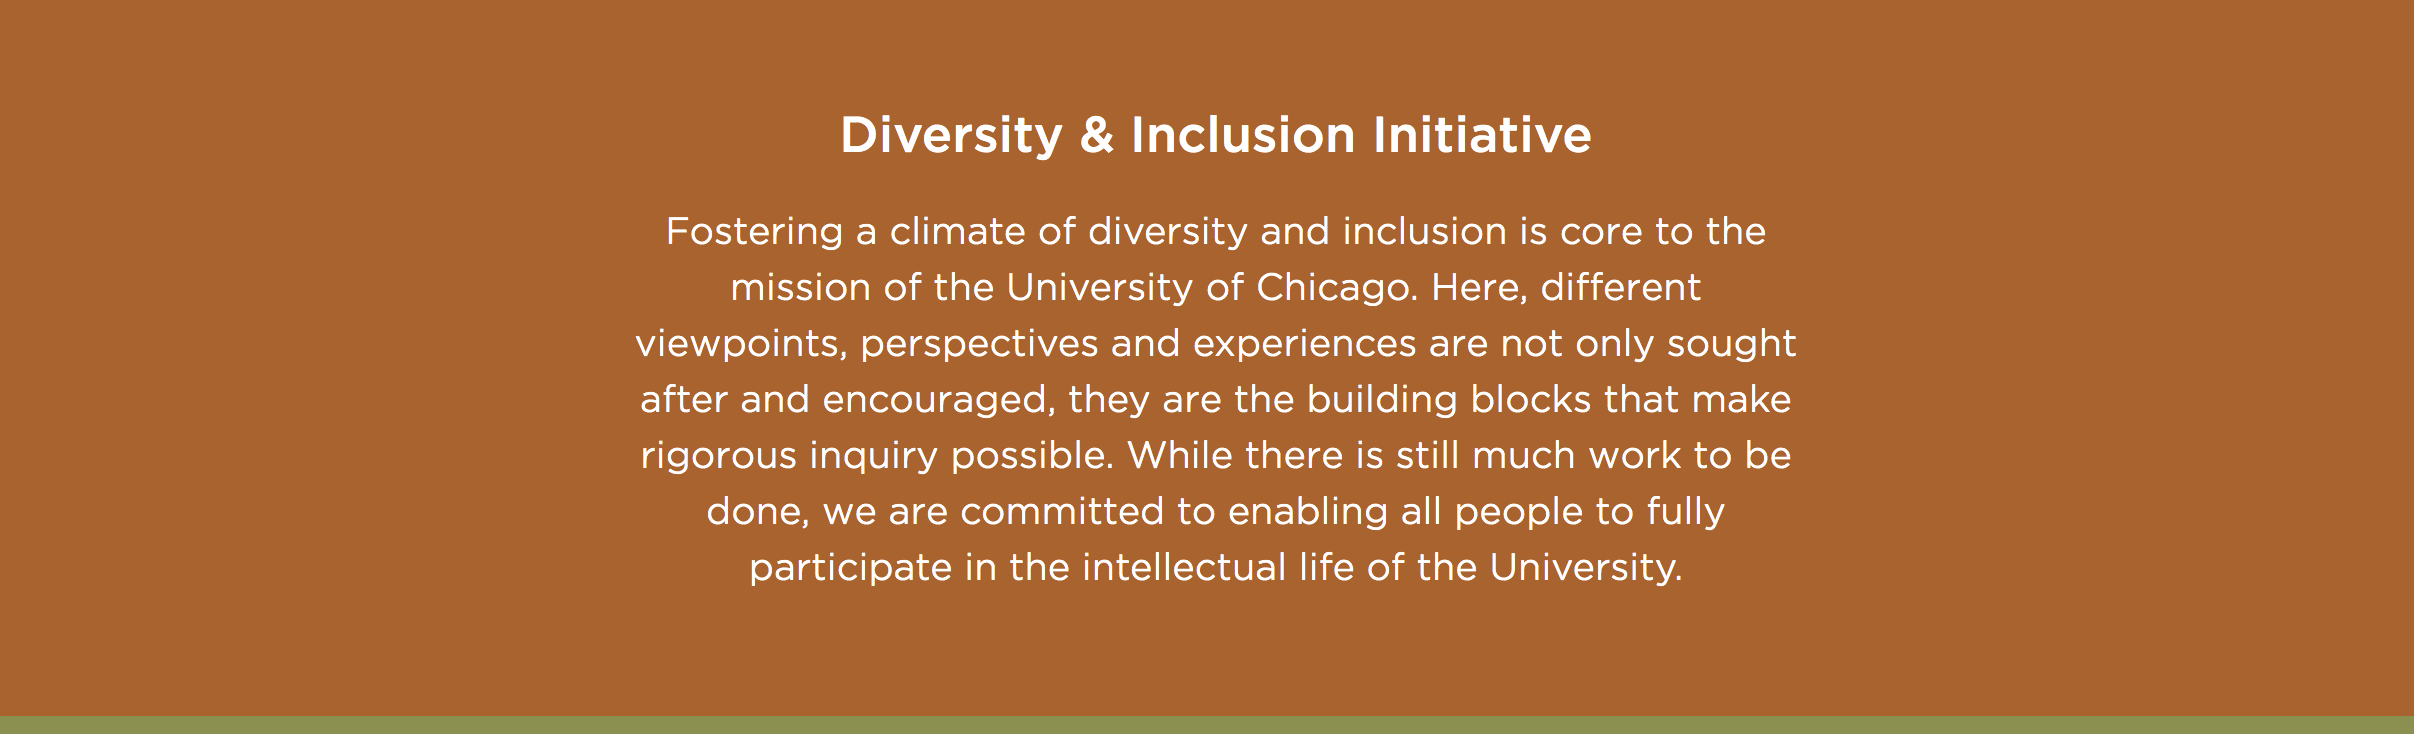
Next is the Intro section. This is a text block that includes an Intro Headline and and Intro Blurb. The text can be bolded, italicized, or linked. The background color that appears on the page as shown in the image will not be editable.
-
A general note to bear in mind when editing content: rows with empty required fields cannot be deleted. For example, if you add a header image to a page, then decide that you do not want an image, you should delete the row without removing the image. If you do not do this, the site will not allow you to save your changes. If you run into this problem, simpy replace the image (which you do not wish to include), and then delete the row.
-
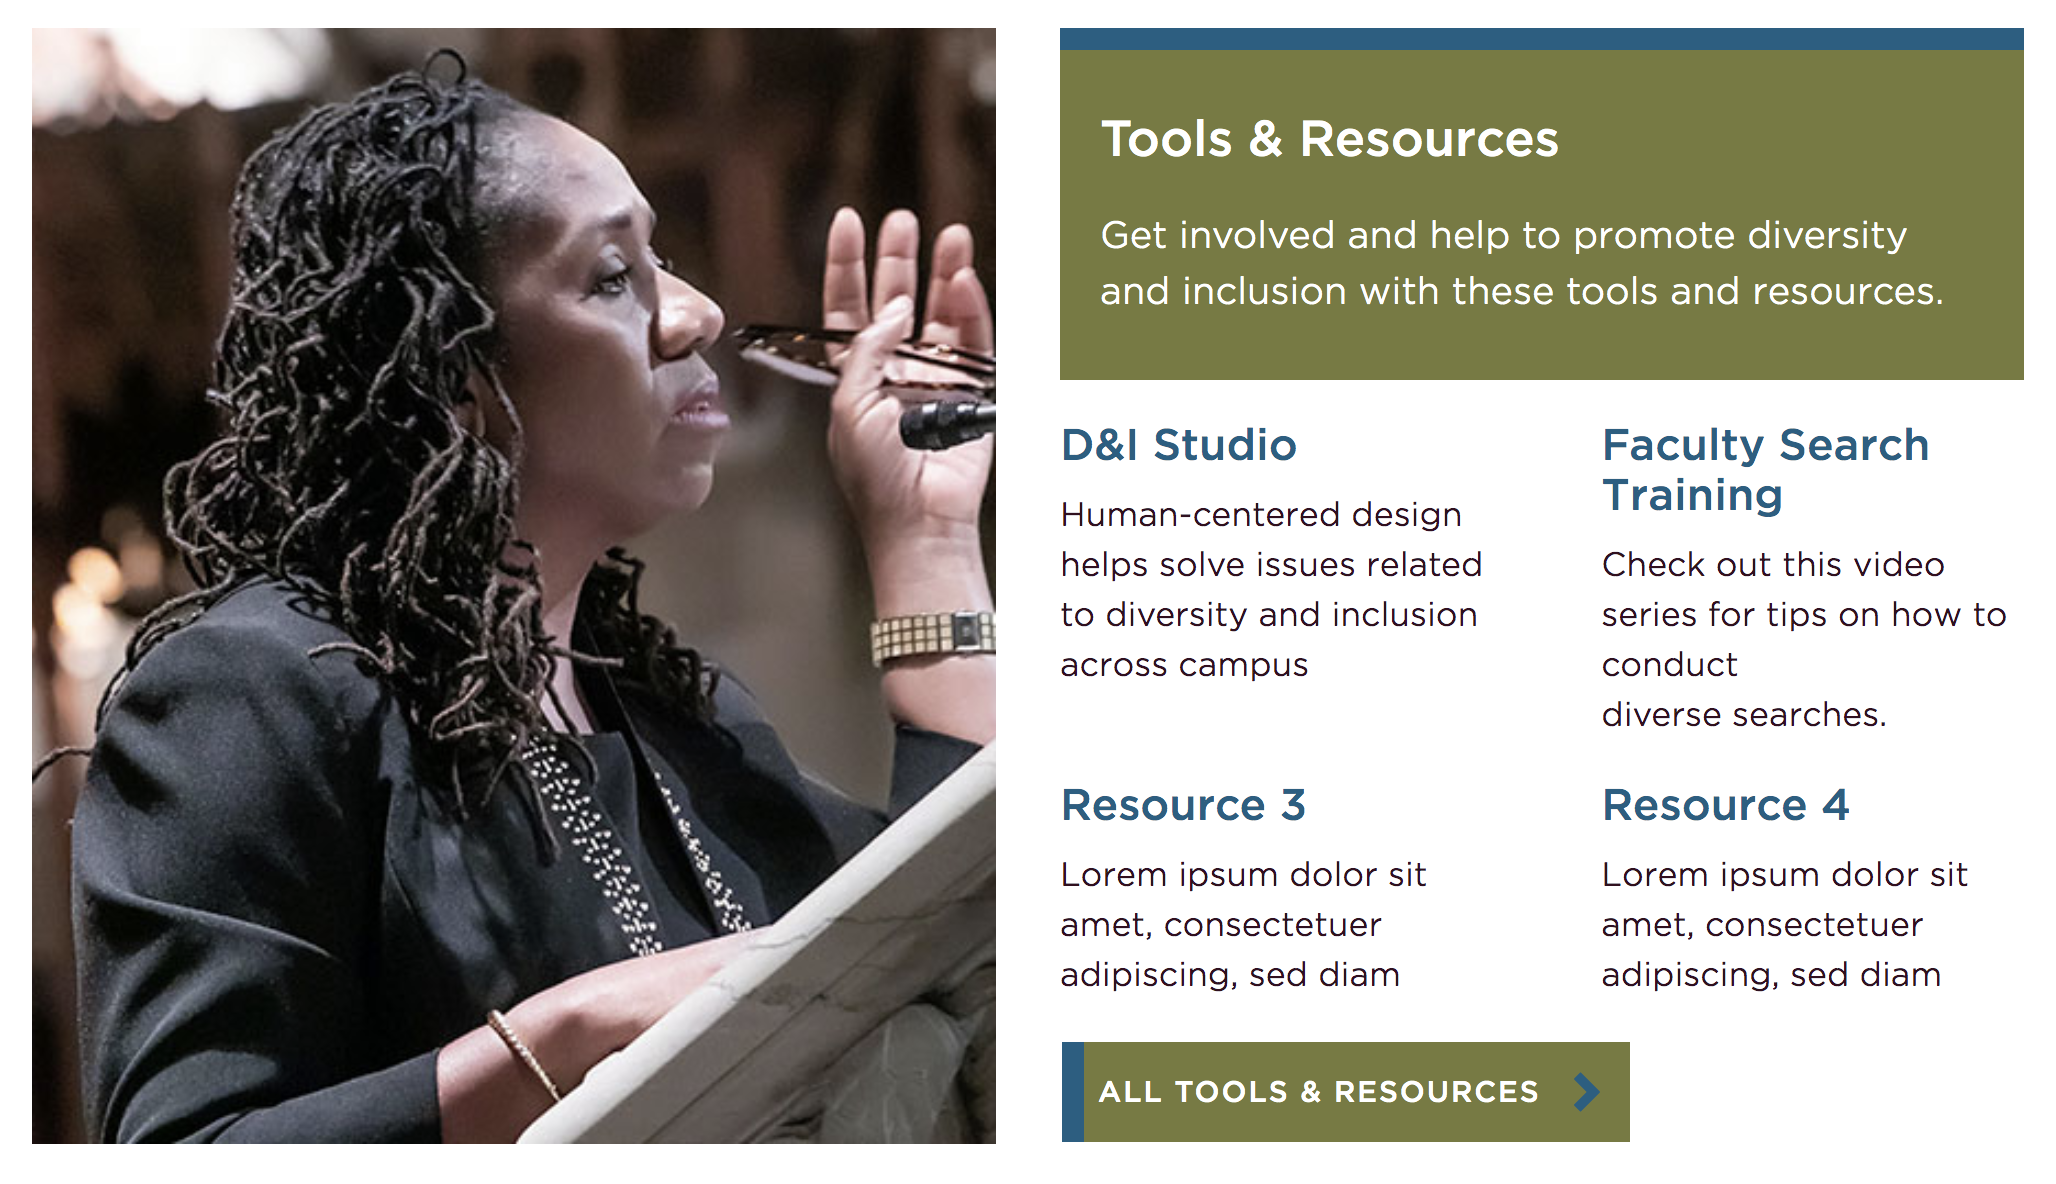
The next section is for Tools & Resources. First you can choose a headline. In the image, the Headline and Intro blurb entries are what displays in the green box. The image will be the larger image on the left-hand side of the tools and resource entries.
-
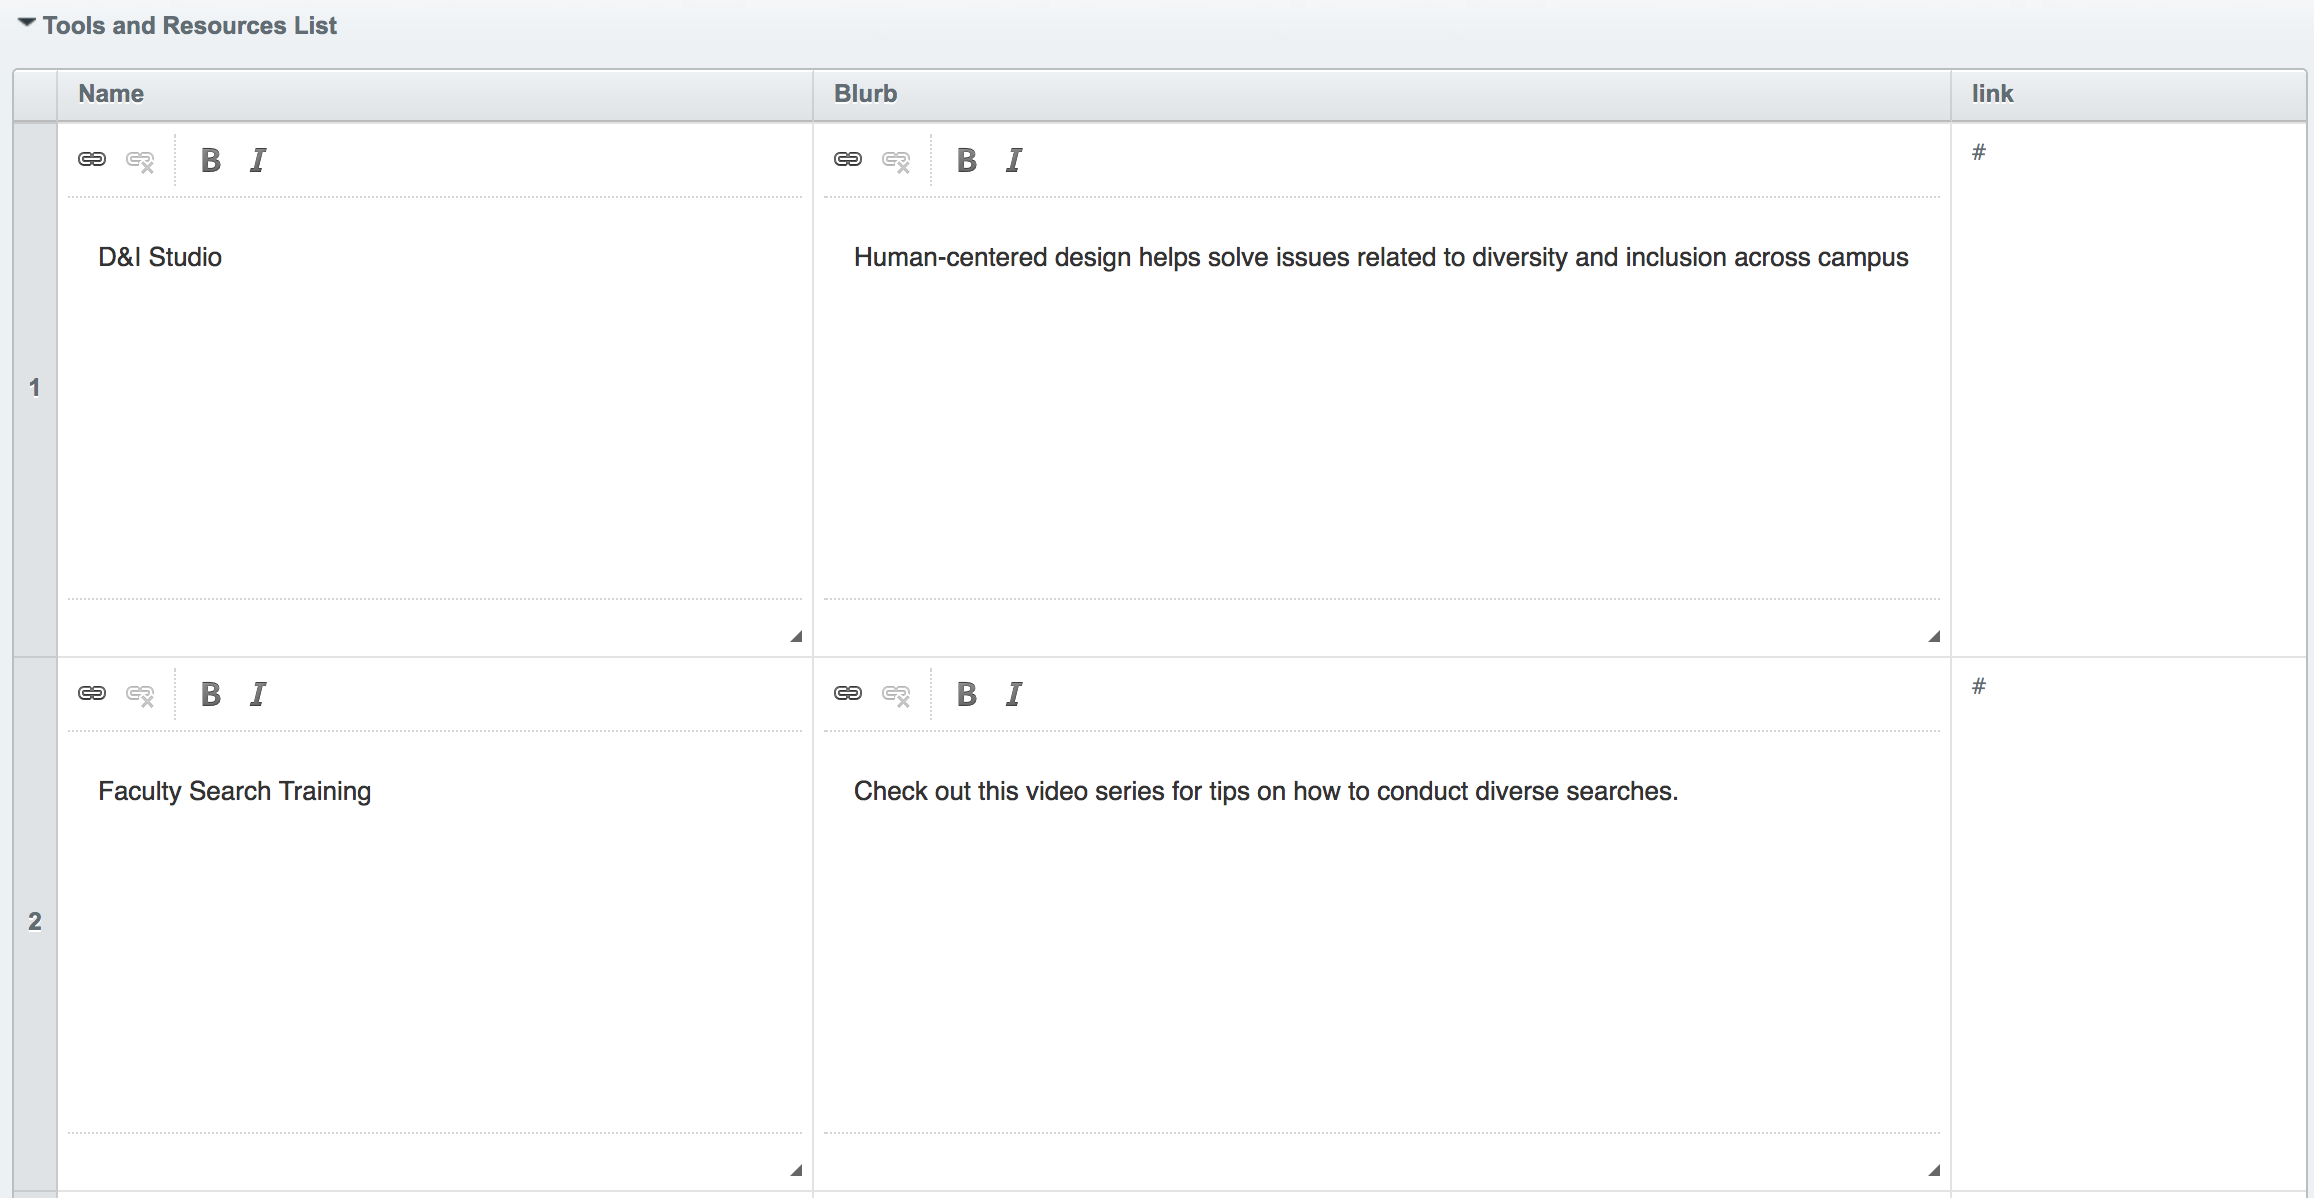
Next is your tools and resources list. This appears below the box containing the headline and intro blurb text and to the right of the headline image. Here you insert a name, which will be larger text, blurb text, and then a link. Again, the link can be for pages within the site or external pages.
You can insert up to four tools and resources.
-

The next section is called Email signup. This is another text block. The headline will appear as larger text with the Blurb section undernearth it. The text can be bolded, italicized, or linked. The background of the block will not be editable.
-
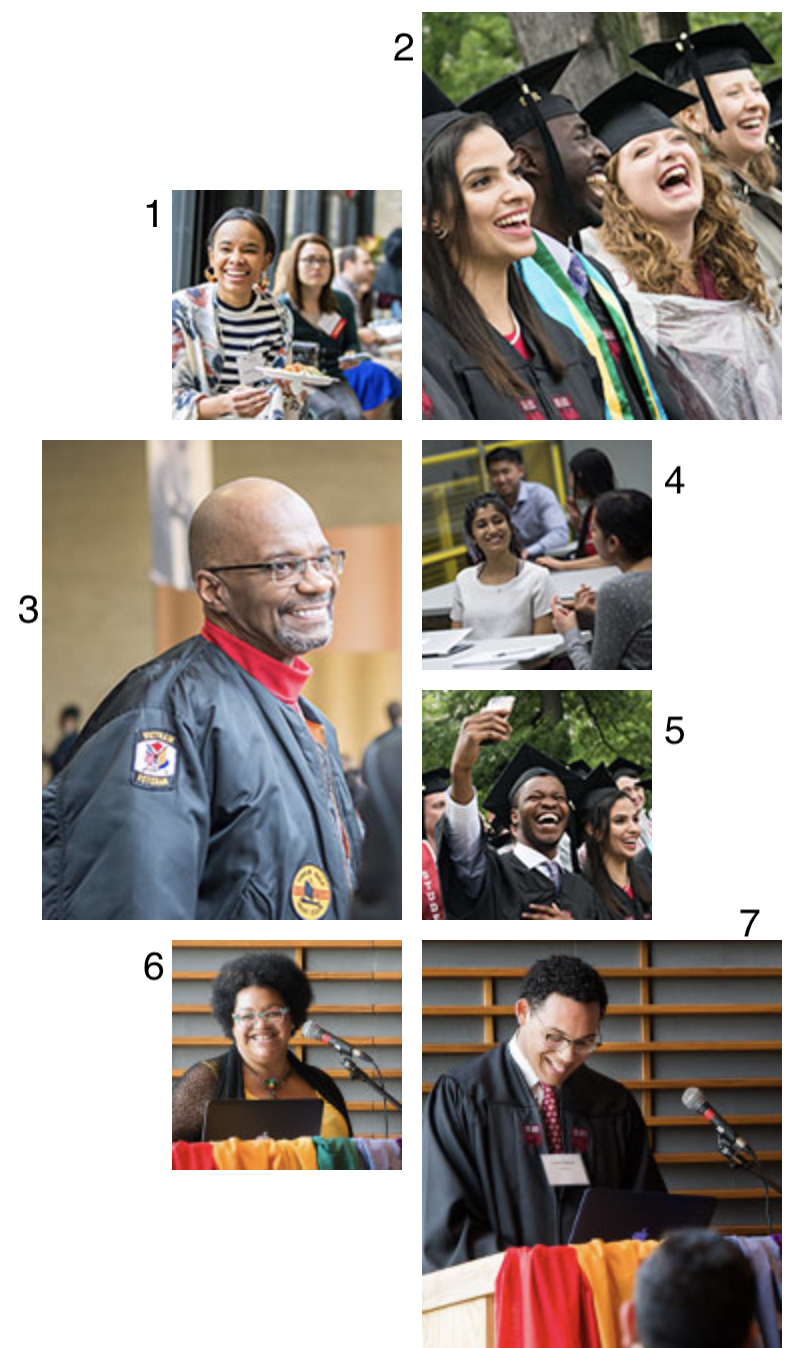
The events image collage appears to the right of the events section. Note, there are dimensions for each photo. The image to the right shows which number corresponds to which placement.
-
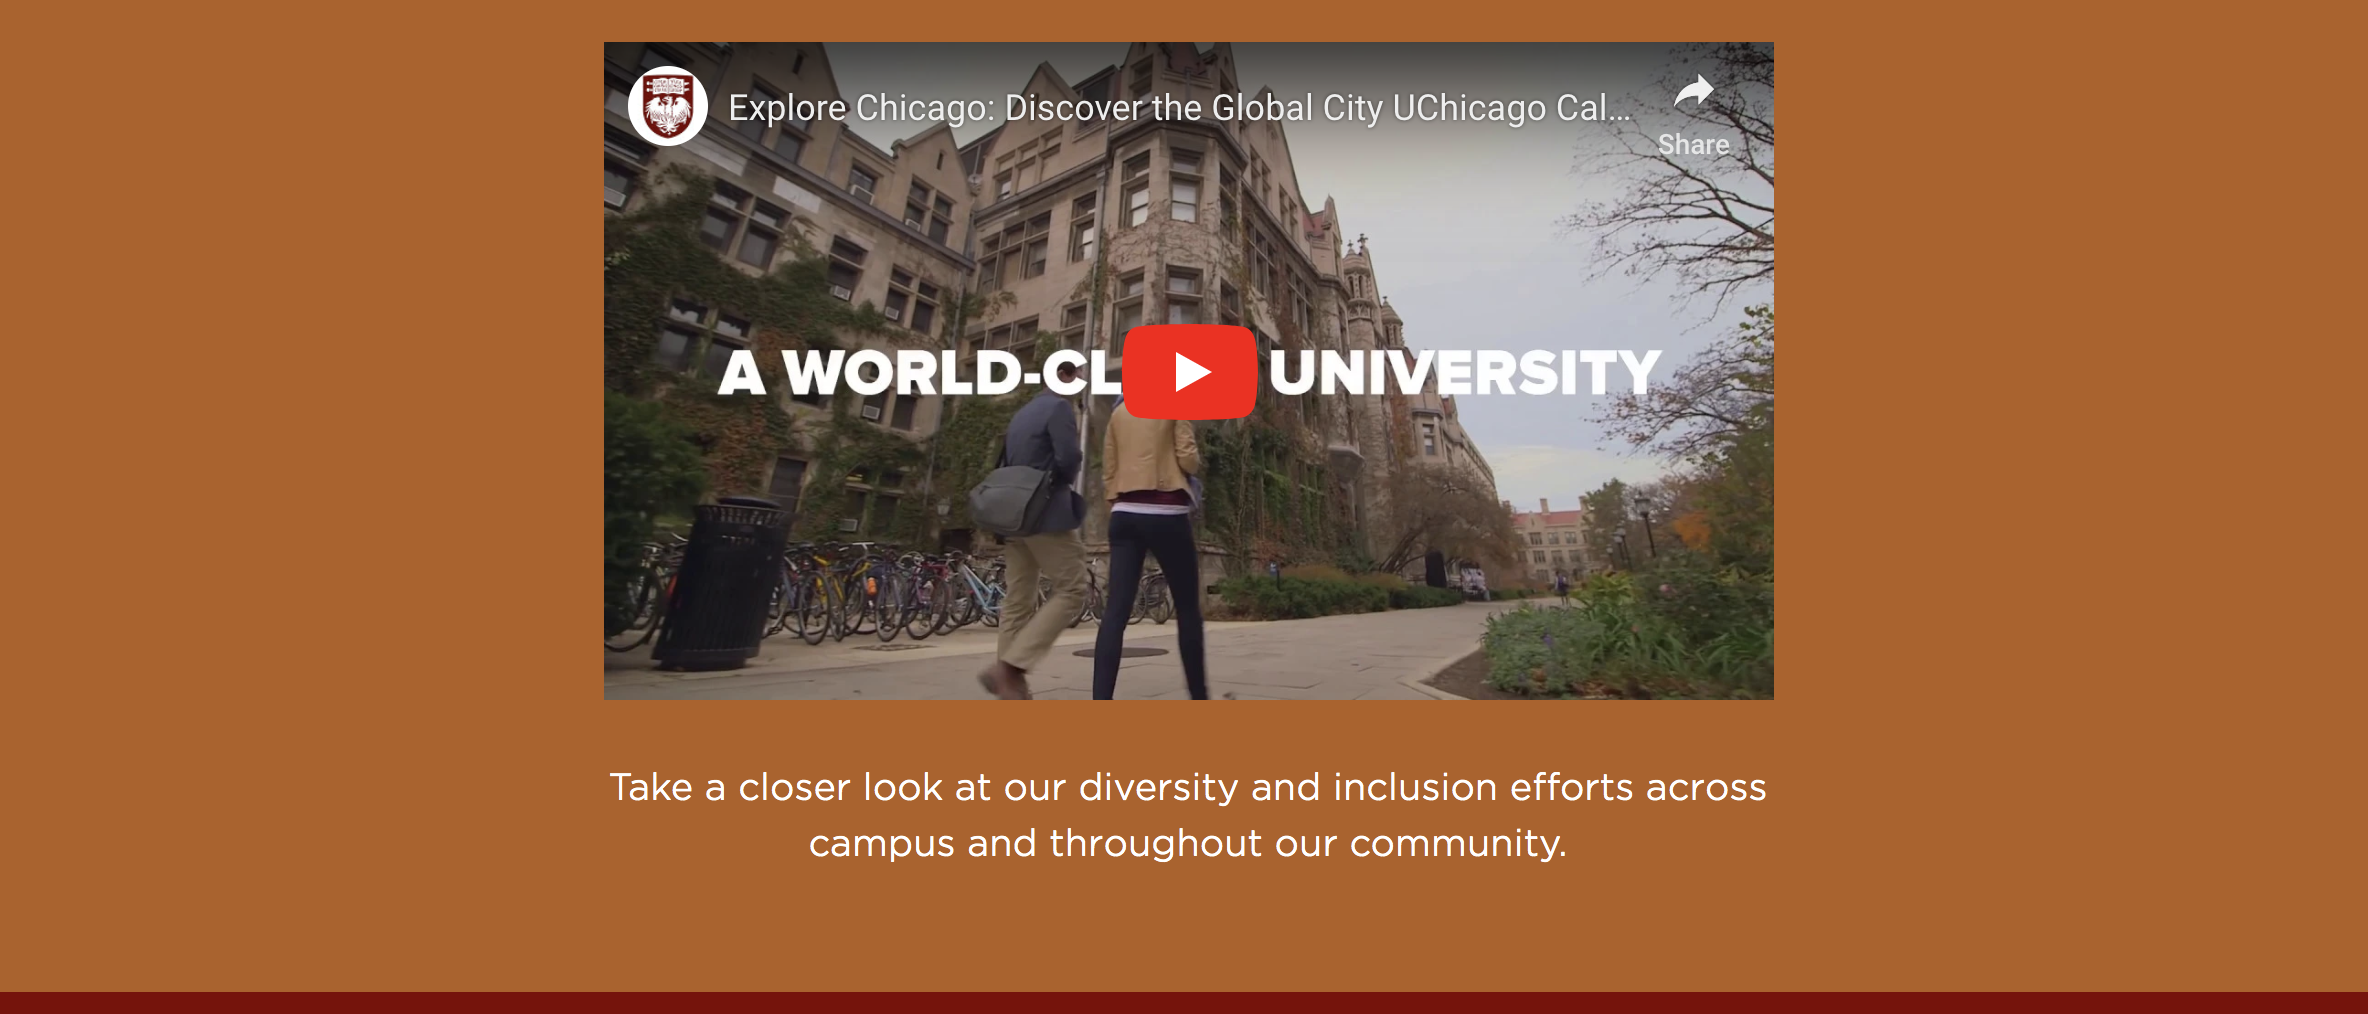
The final section for homepage editing is the Video section. Here you insert a YouTube ID, NOT the full URL. There is link to help you find a YouTube ID if needed. There is then a section for the video caption. This will be displayed undernearth the video as shown in the image. The background for this section is uneditable.
-
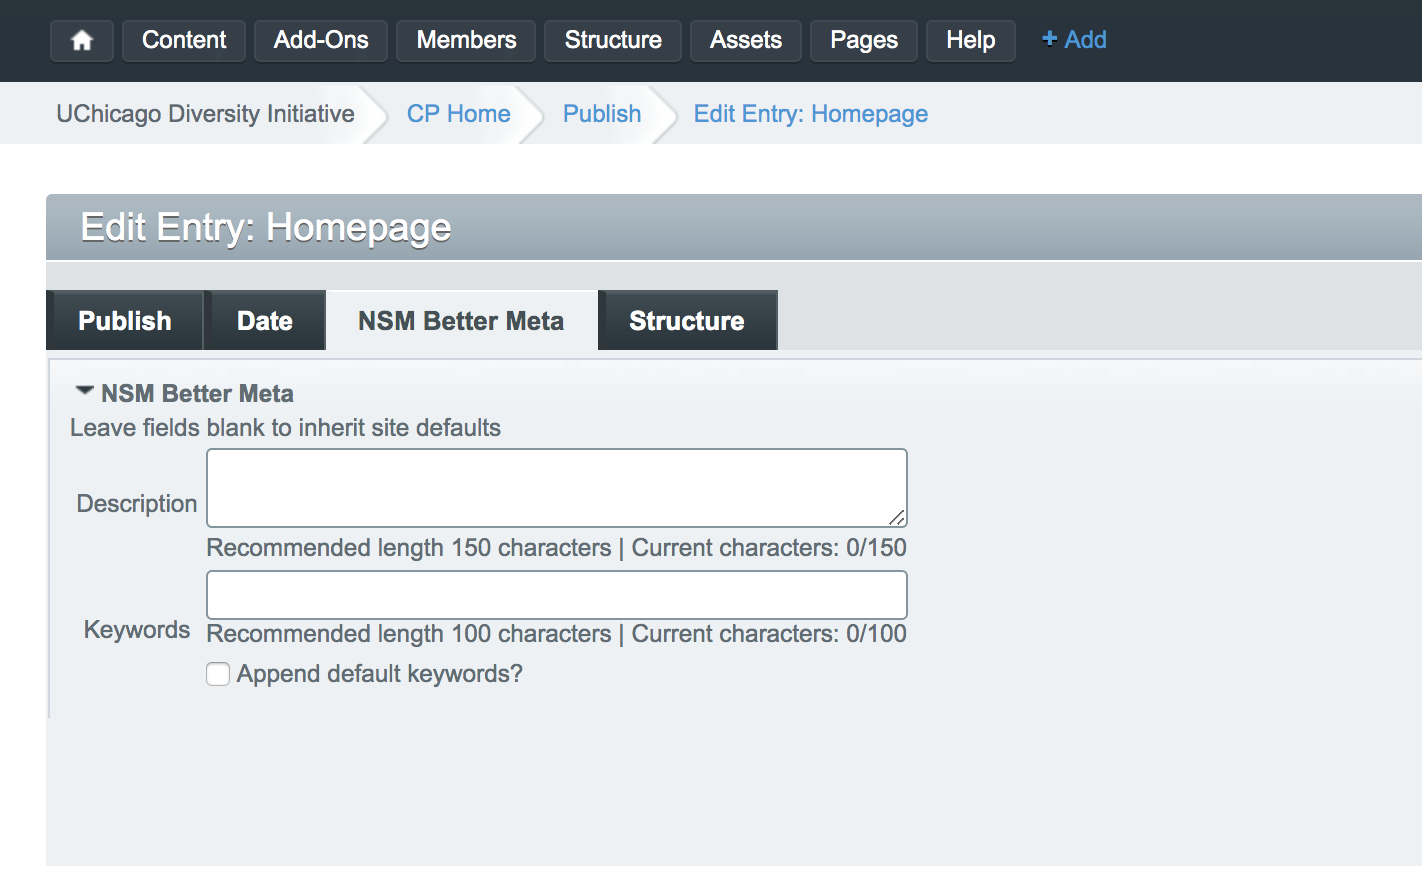
The other tab you may want to use is the NSM Better Meta tab located at the top of the Edit Entry: Homepage page. There is default metadata for your site but here you can insert your own descriptions and keywords for SEO purposes.
-
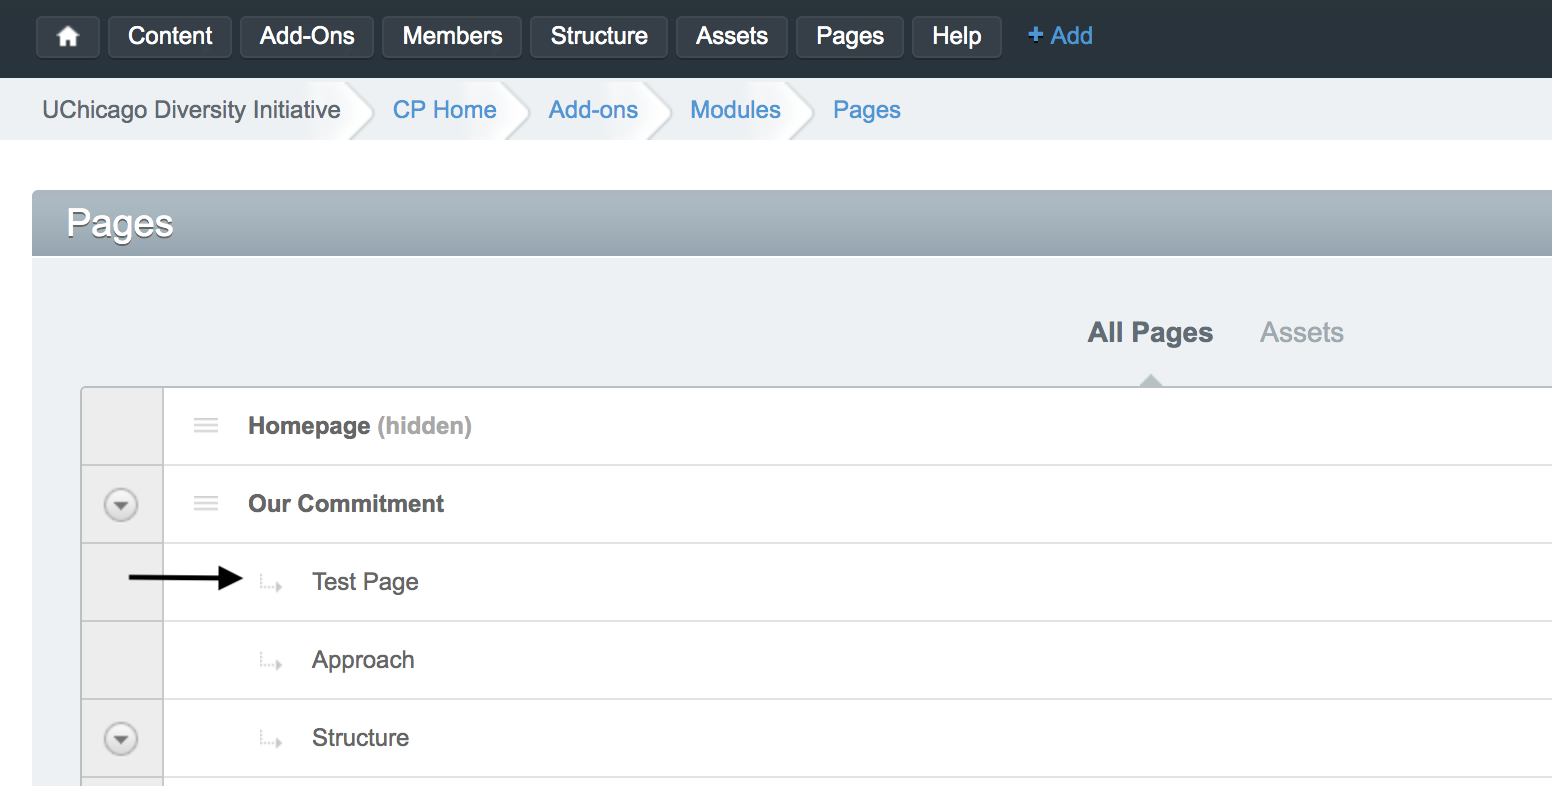
This will walk you through editing any basic interior page. The test page under the structure tree shows all of your options for content on any basic interior page. The same approach will be used to edit any interior page on your site.
-

First is the hero image section. This section allows for large images and text. The image will display at the top and a box containing the heading and caption will display below it. If more than one entry is placed, there will be a slideshow of the entries.
You can add up to six entries.
-
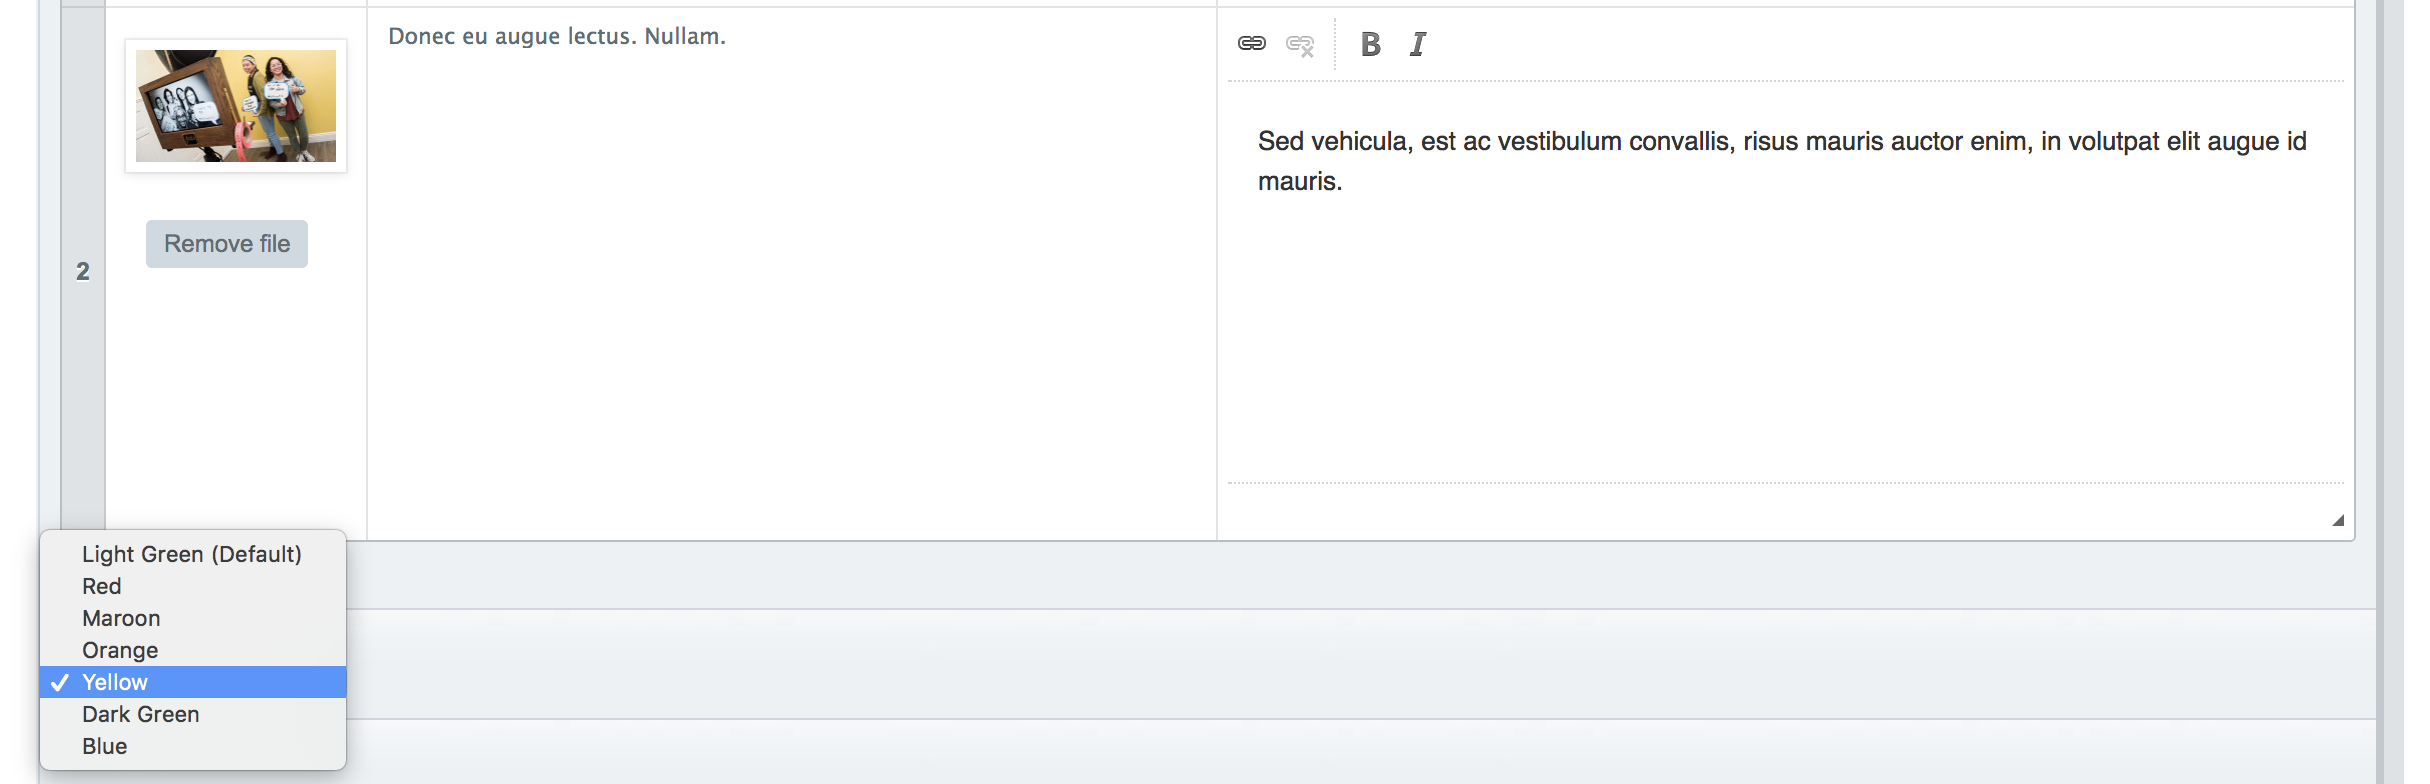
Below the list of hero images entries there is a drop down called Hero Image color. This will change the background of the text box as seen in the image above. Many of the sections included on this test page will have the option to change the background color. They will all appear as a dropdown below the area for the section content. If the Color dropdown is not there, this means there is no background color in that section to change, or there is no option to change the background color that is there.
-
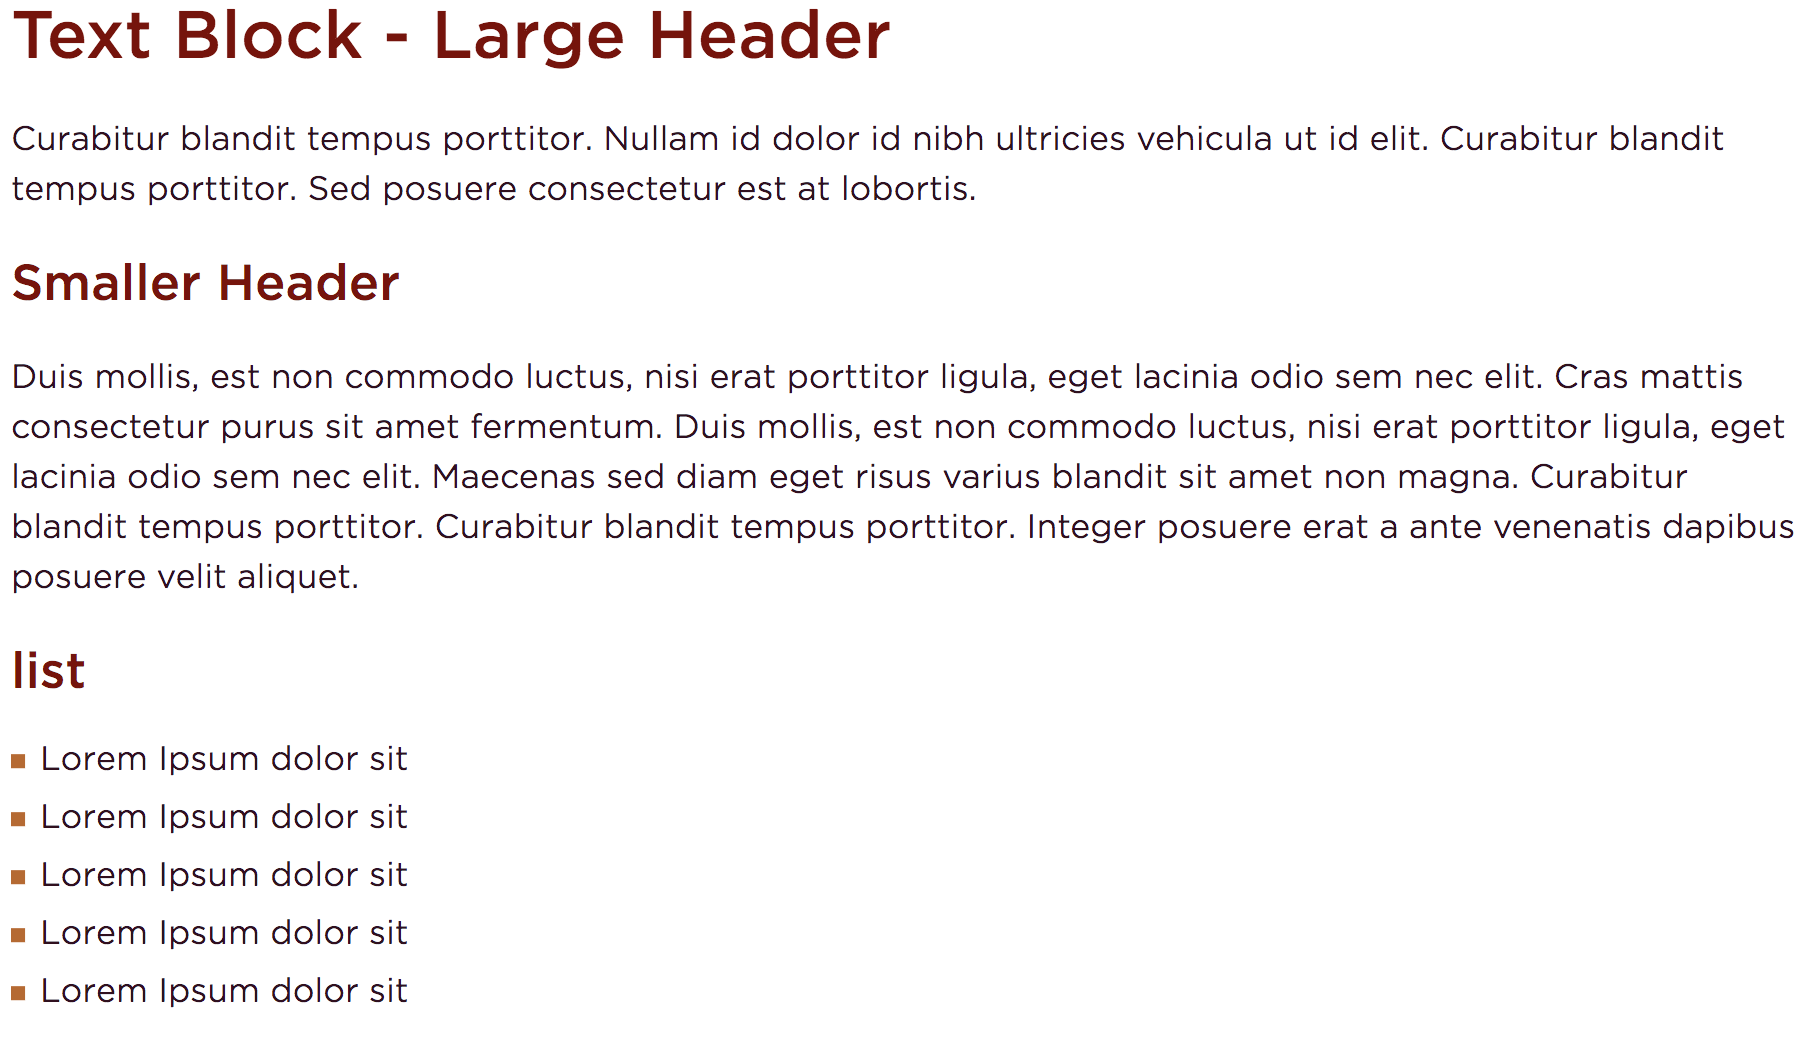
Next is a text content block. You can insert headers of different sizes, paragraph text, lists, links, and symbols. The basic formatting options are along the top bar of the textbox. The image shows how headers and lists would be displayed.
-
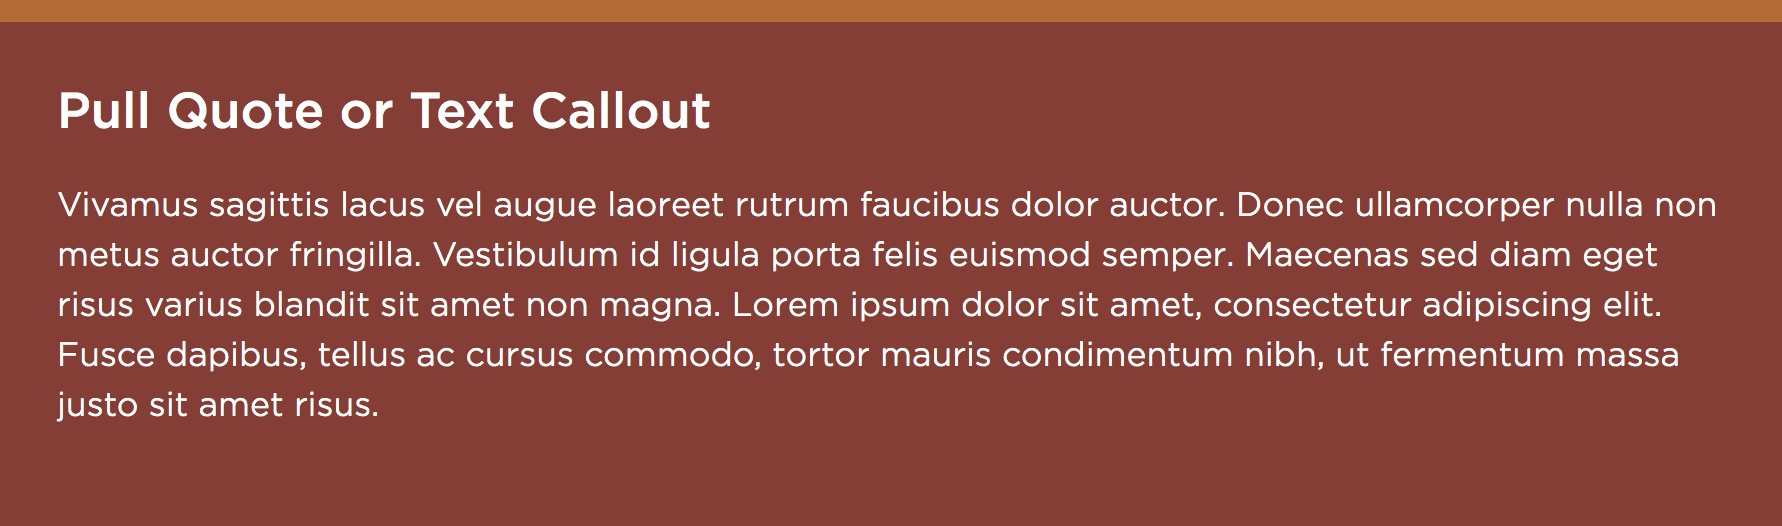
Next is a pullout quote section. Again this is a basic text box. The image shows how it is displayed. There is a dropdown option to change the background color below the section.
-
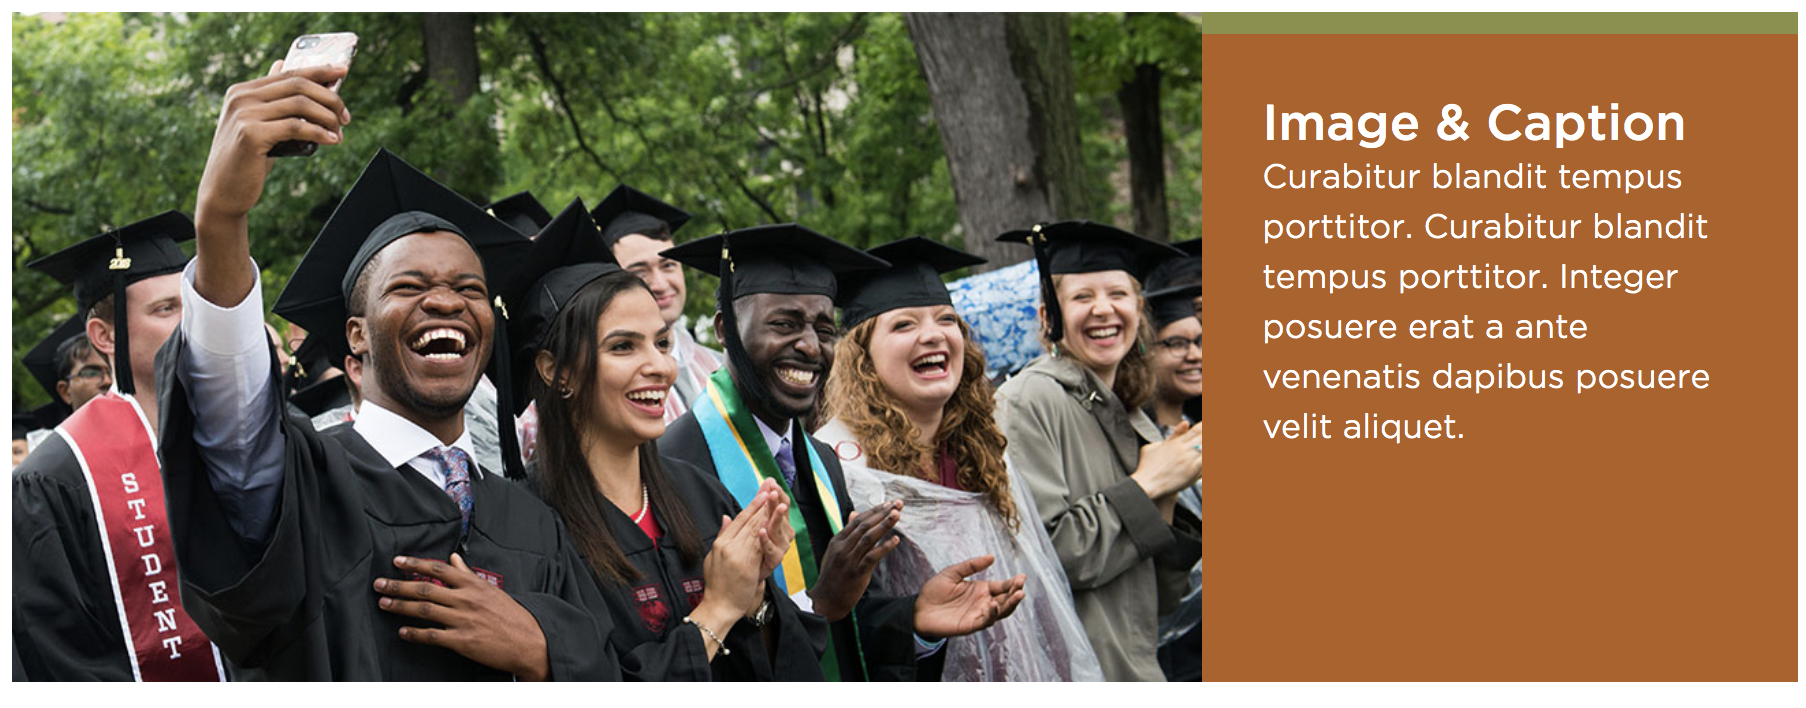
Below another basic text section is a Media section. Here you can insert a combination of photos and videos that will be stacked on top of each other. To insert an image click add file. To insert a video paste the YouTube ID, NOT the full URL. There is a link to help you find a YouTube URL if needed.
Next there are places to insert a headline and caption. This is basic text that can be made a link if you wish. The full-width option will make your image or video span the length of the page and put the headline and caption below it. If you do not use the full-width feature you can choose the left or right option to decide which side the box containing the headline and caption will be. So the image will be on the opposite side of whichever option you choose here. The color changes the background color of the textbox containing the headline and caption.
This image shows a picture, non-full width, with "Right" turned on.
-
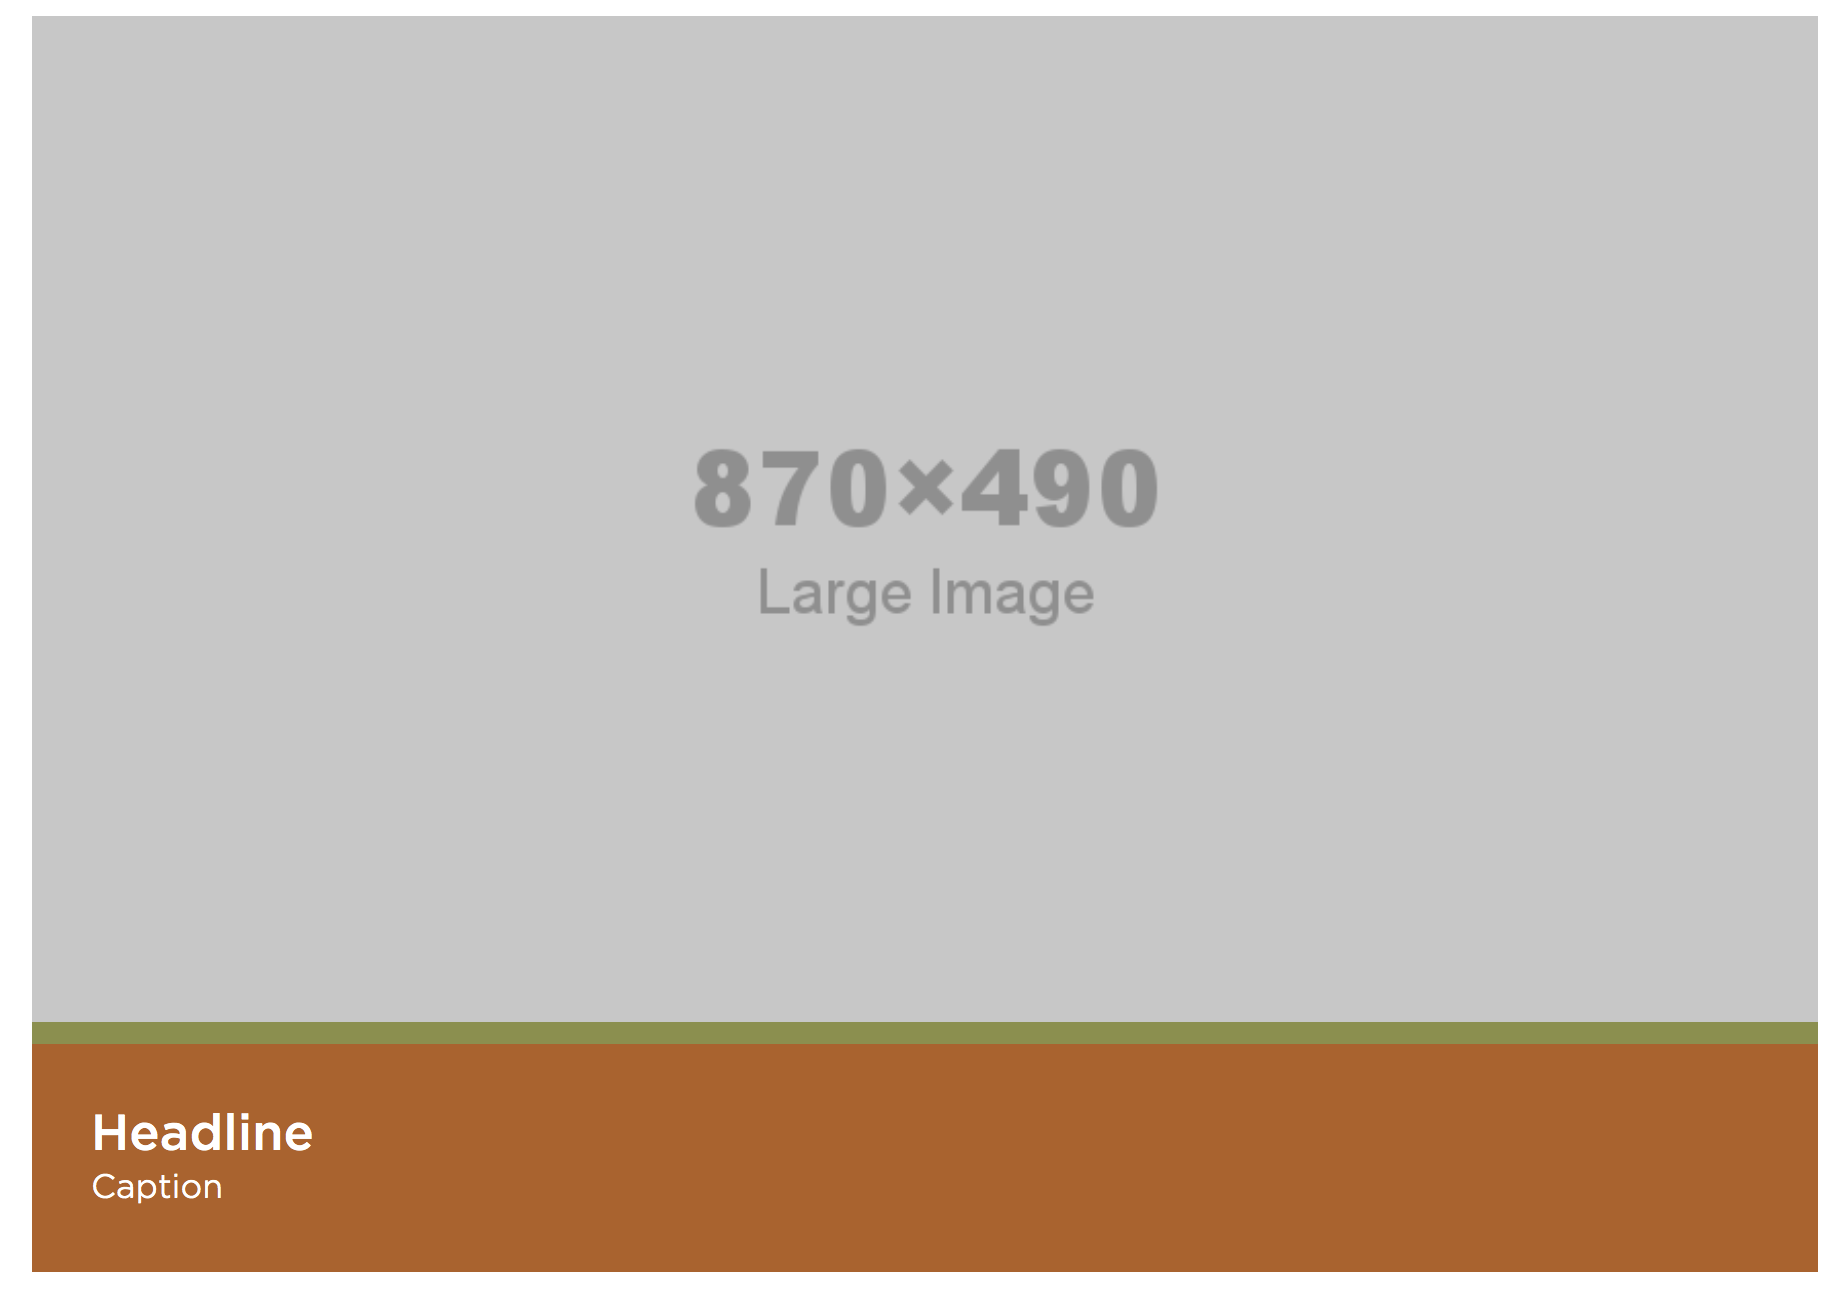
This is what a full-width image looks like with a headline and caption.
-
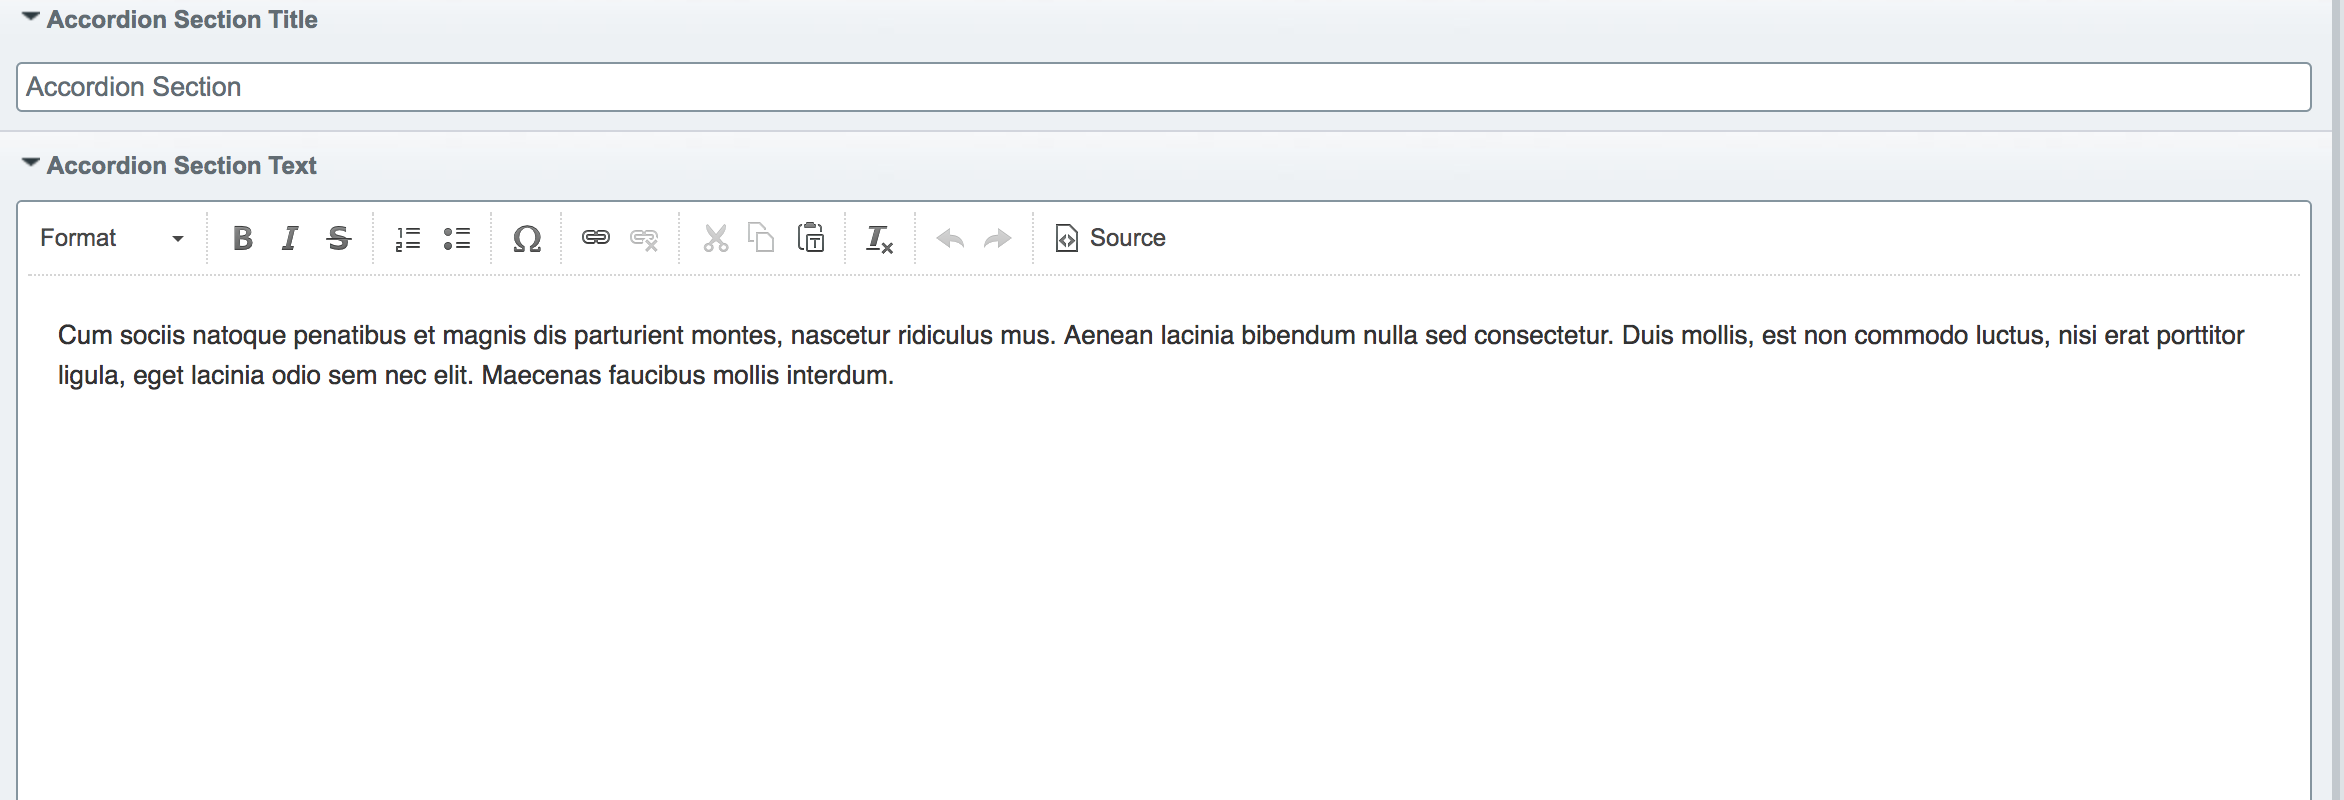
Below another text content section is an accordion section. The section title and section text will always appear on the page. You do not have to "open" the accordion to see this text.
-
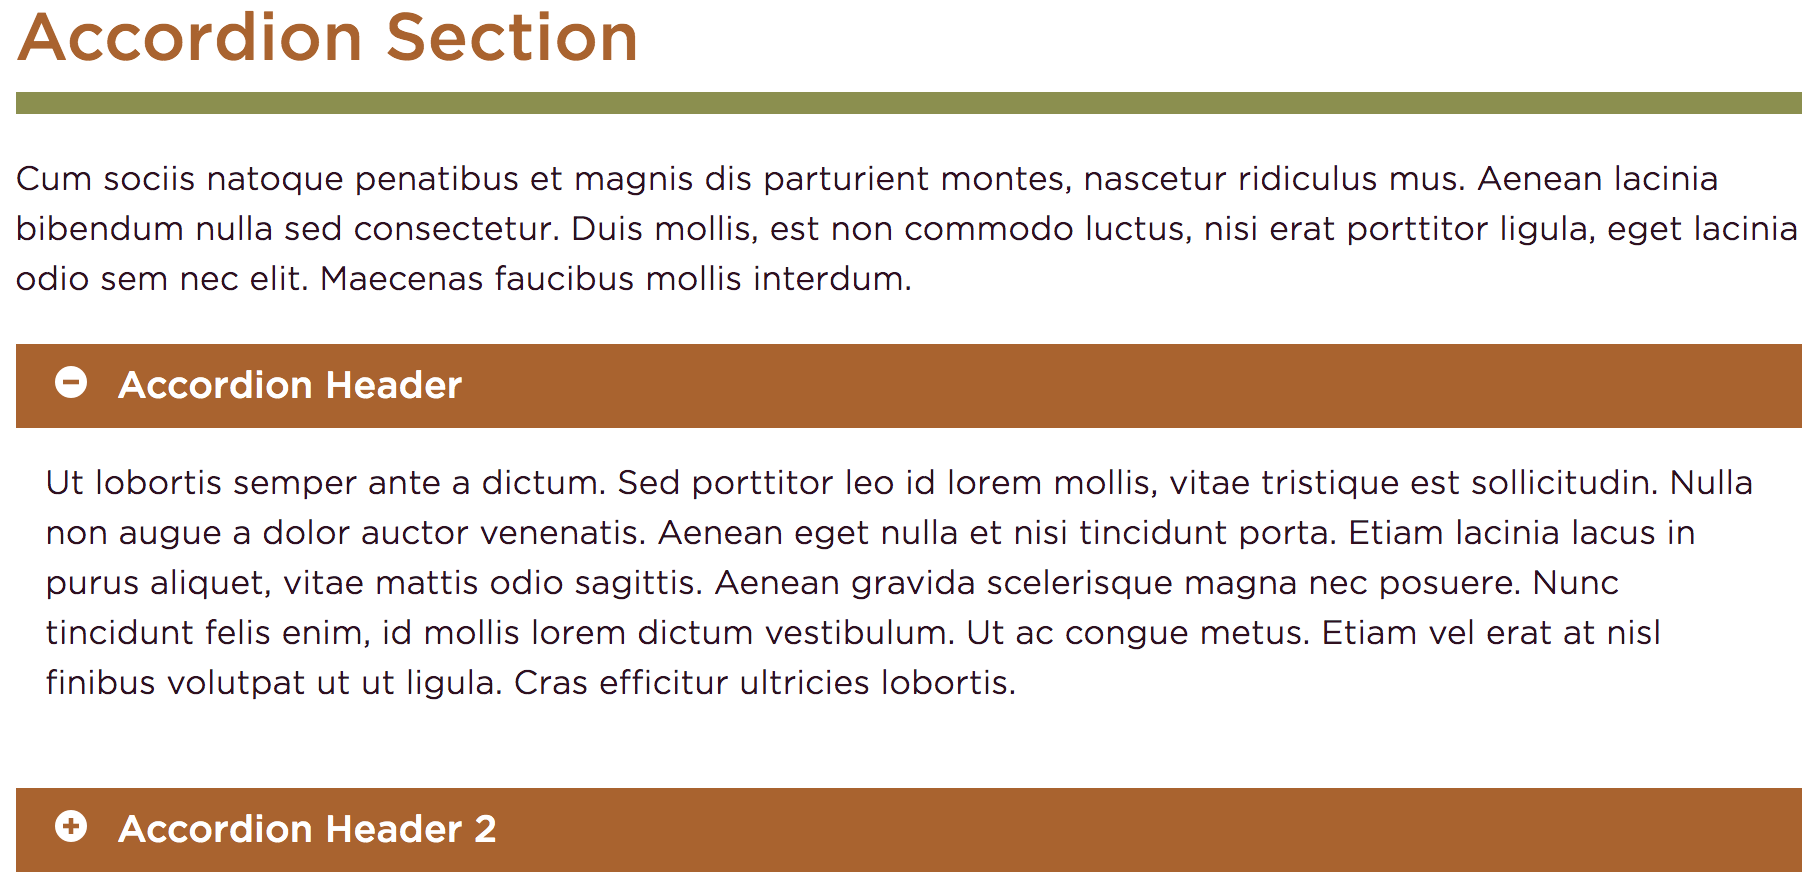
Below this is the accordion content section. The heading is what will display when the accordion section is closed. When you click on the heading area the text in the Content section will appear. There is a dropdown option below this section to choose the color of the box that surrounds the Accordion Content Header.
This image shows the Section title, Section text, and two accordion content rows, one open and one closed.
-
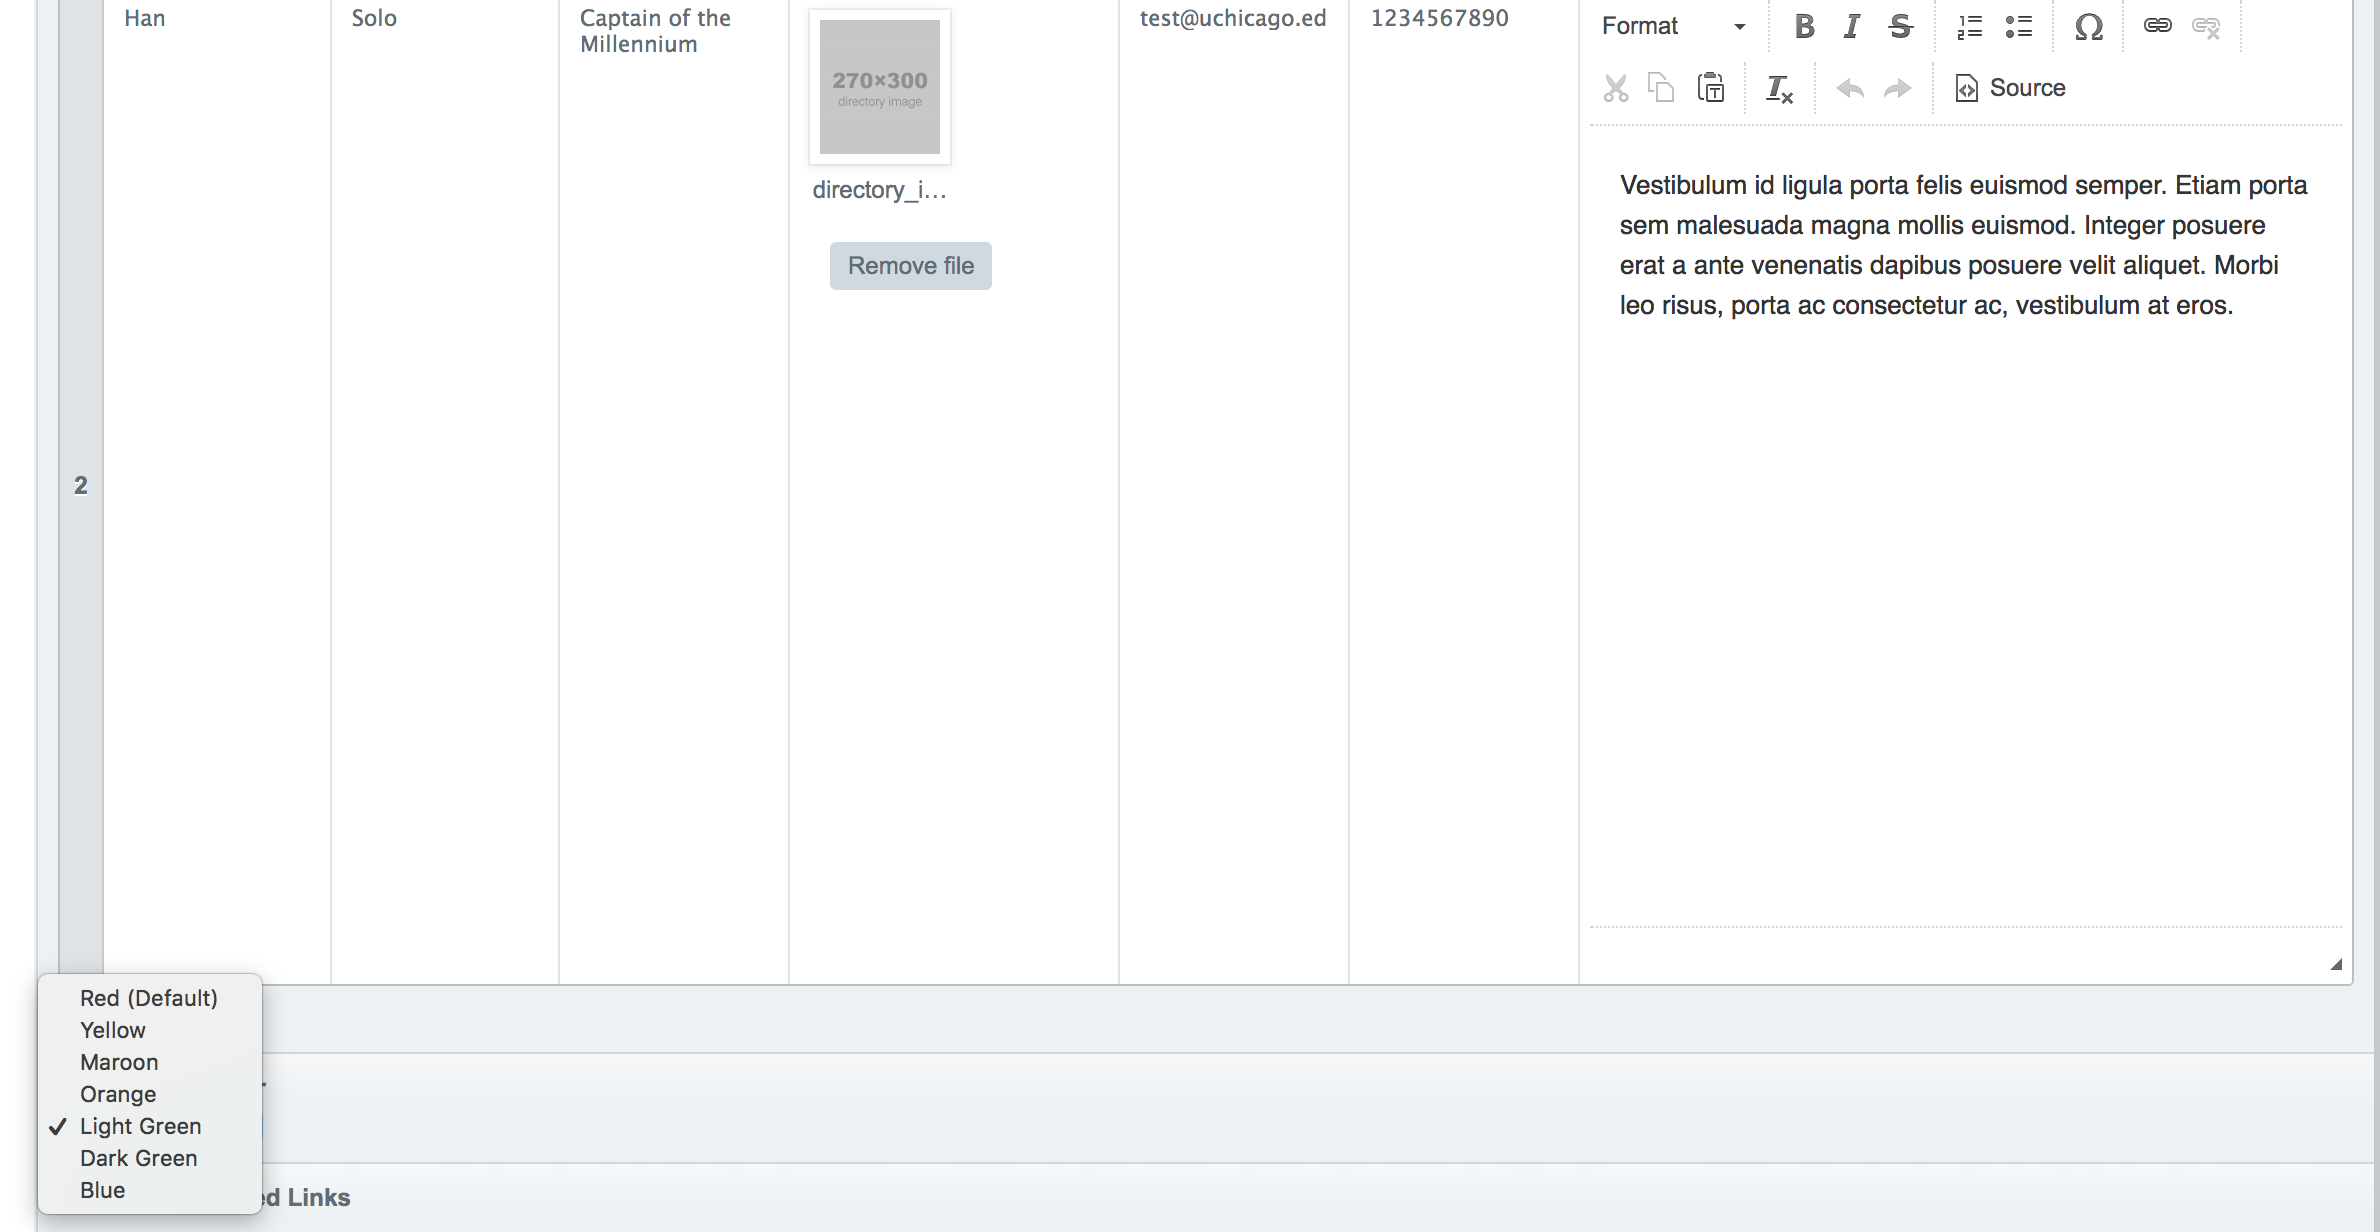
Scrolling down you'll find a directory section. Using this you can create a person bio. The fields first, last, and title are required. There are options to insert an image, email, phone, and bio.
The directory color will change the Name, email, and phone entries to that color.
-
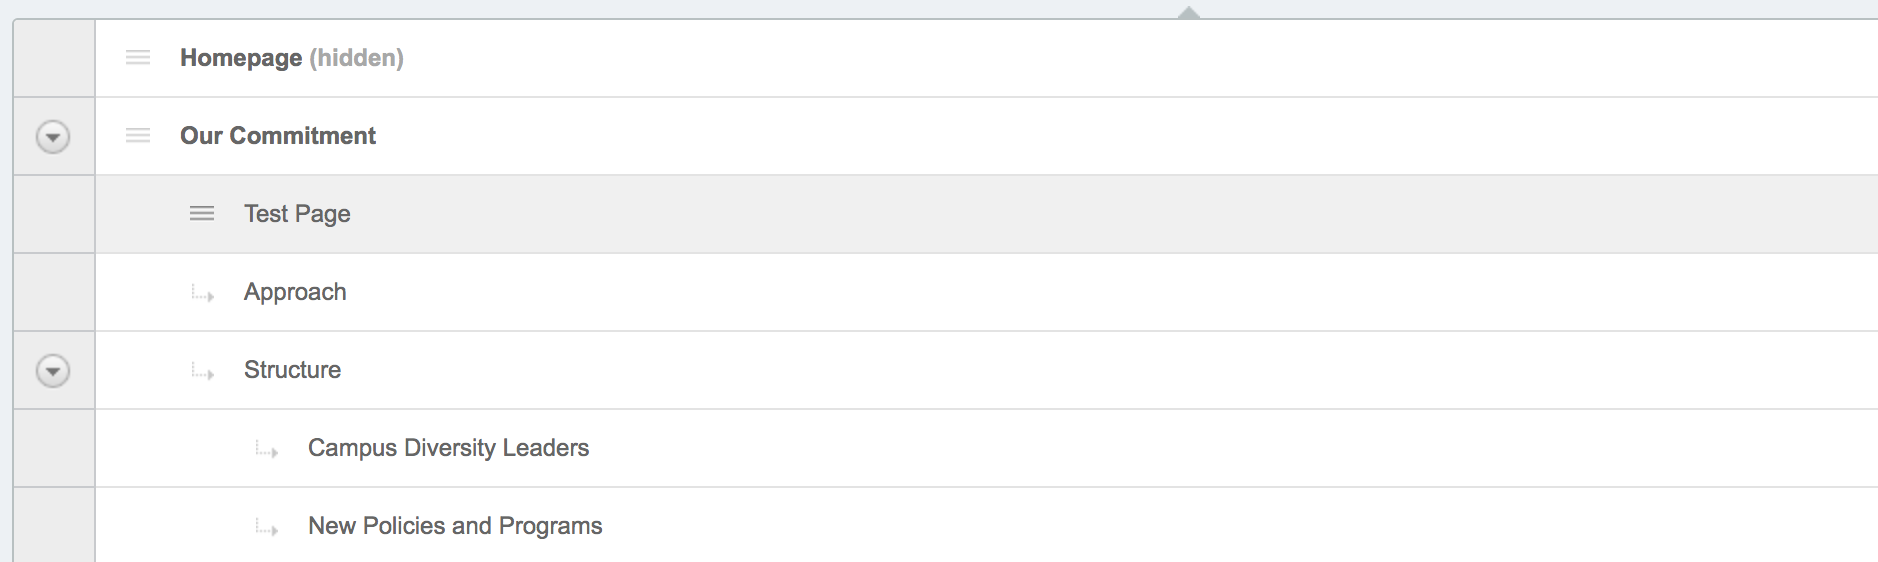
To change the ordering of pages in the navigation or to change a parent/child page relationship, we recommend going to the tree structure view and dragging and dropping. Placing your mouse to the left of the page title will display a black up and down arrow that will allow you to move the page.
-
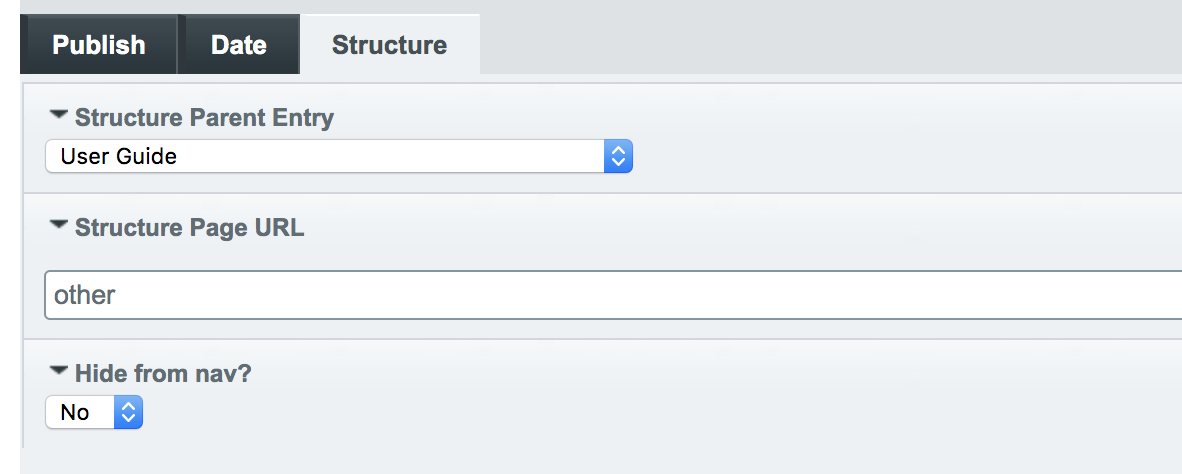
Parent/child page relationships can also be changed under the "Structure tab" which shows when you click any page in the tree structure. Here you can also turn on "Hide from nav". If turned on, this page will be accessible but hidden from any navigation on the live site and from the navigation assets view.
-
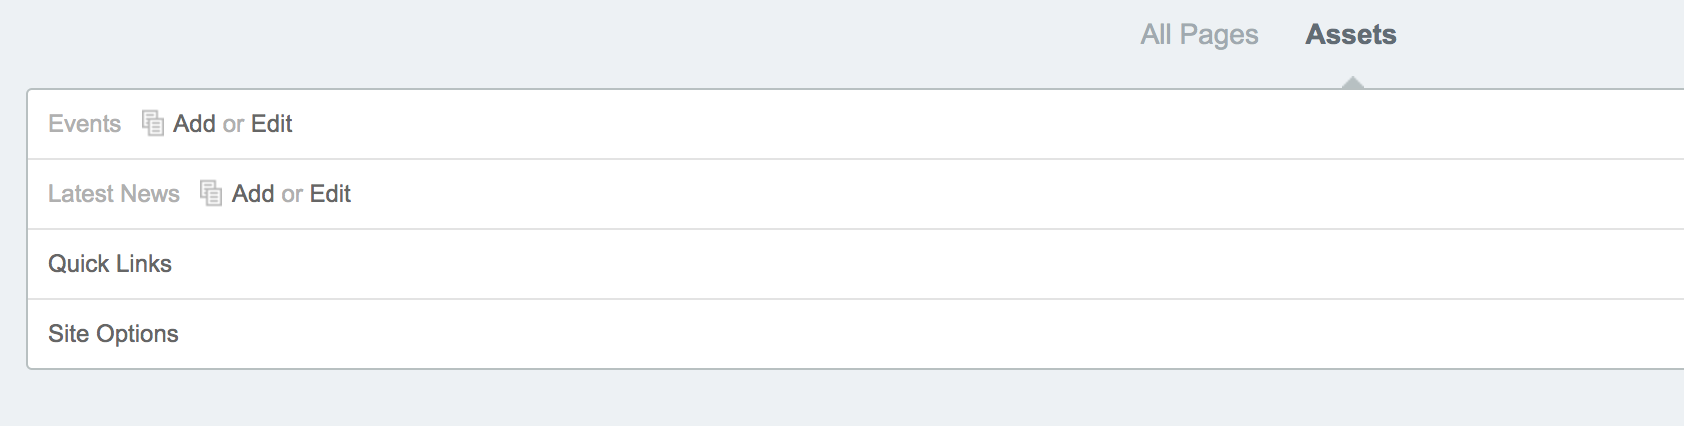
By navigating to assets as in the picture here, you can change a few more things by clicking "Site options".
If you have your own Google Analytics Account ID number you can insert it here. You can also change the footer content and footer links here.
-
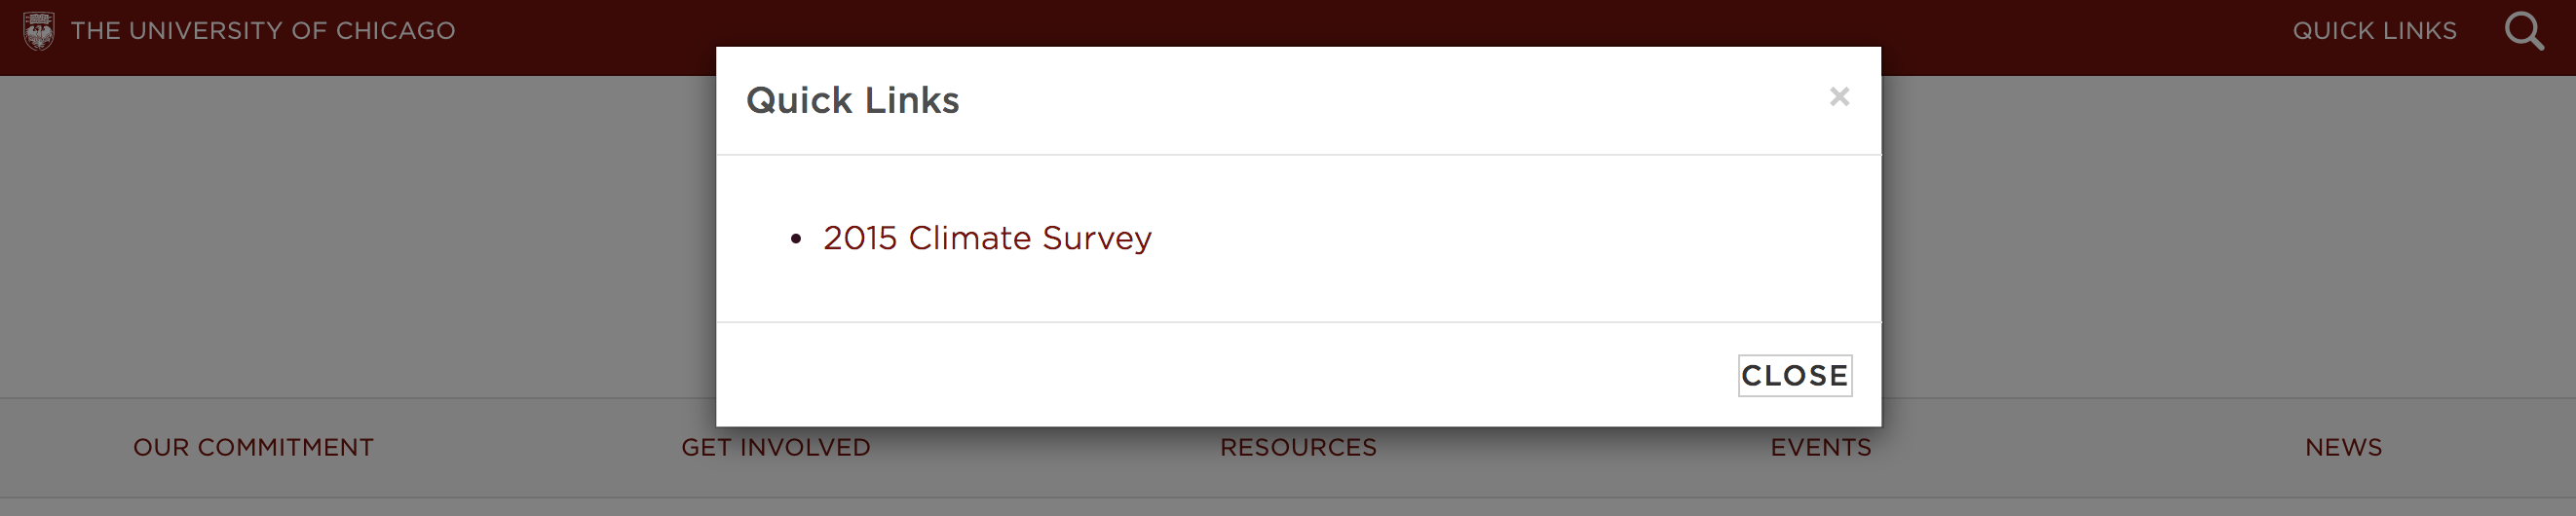
On the assets tab you also have a "Quick Links" section. To make quick links display make sure the status is set to open. Quick links will show in a bar at the very top of your site next to the search bar. The words "Quick Links" will display. If you click on those words, a list of links will appear as a pop-up. These links can be internal or external to your site.